


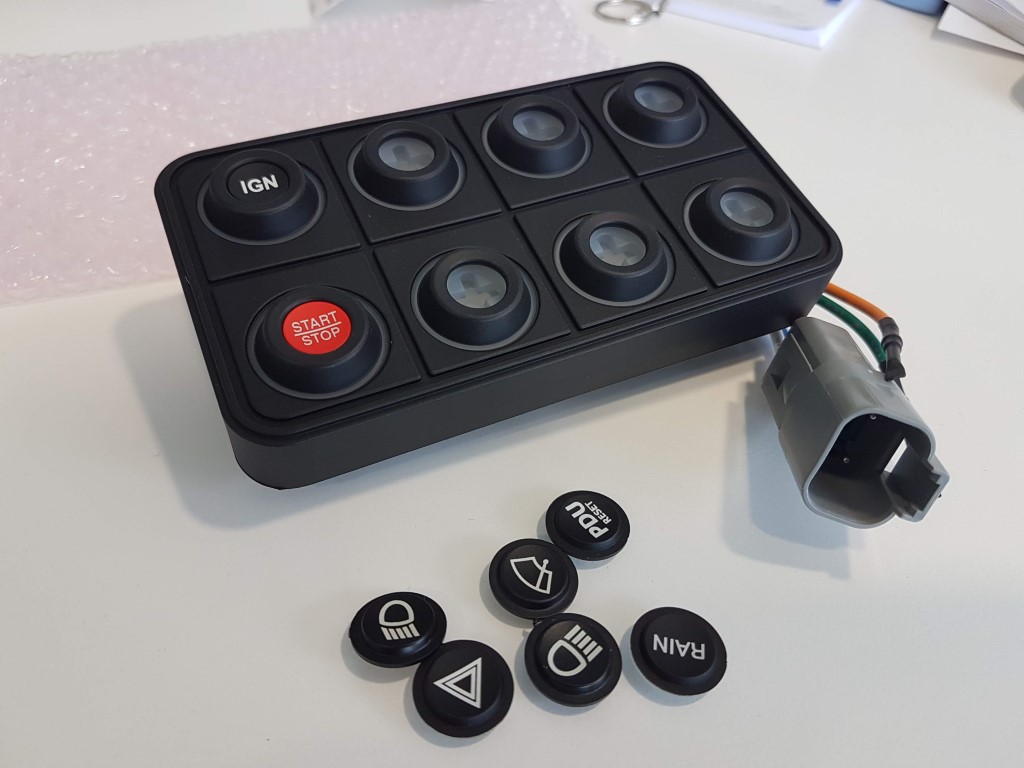
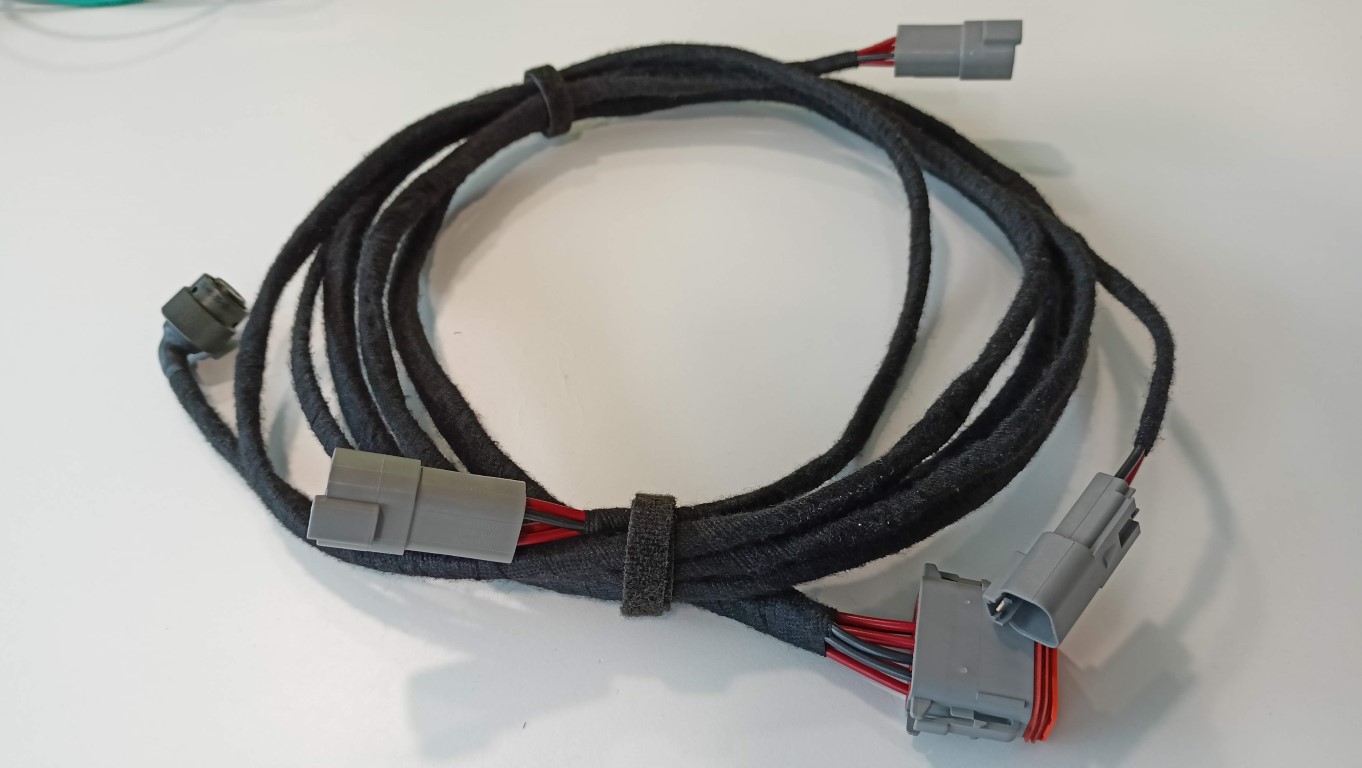
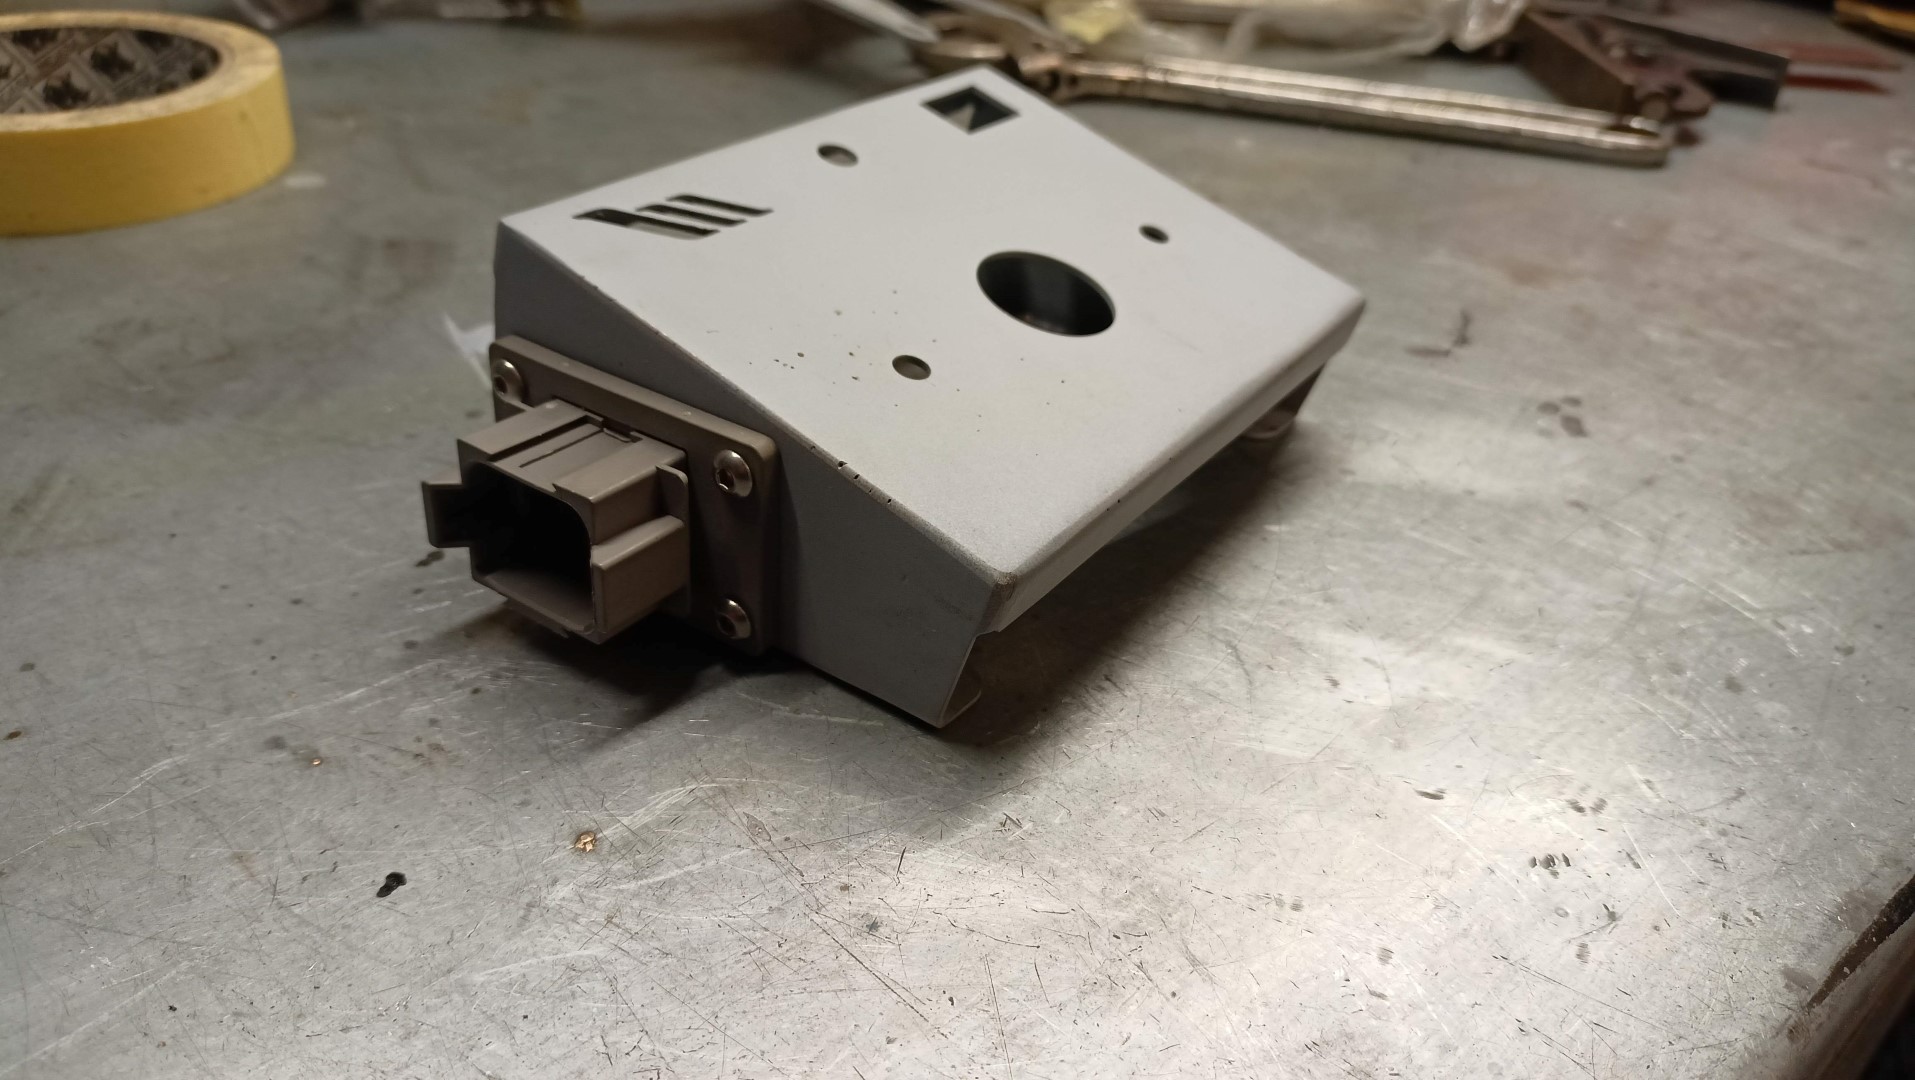
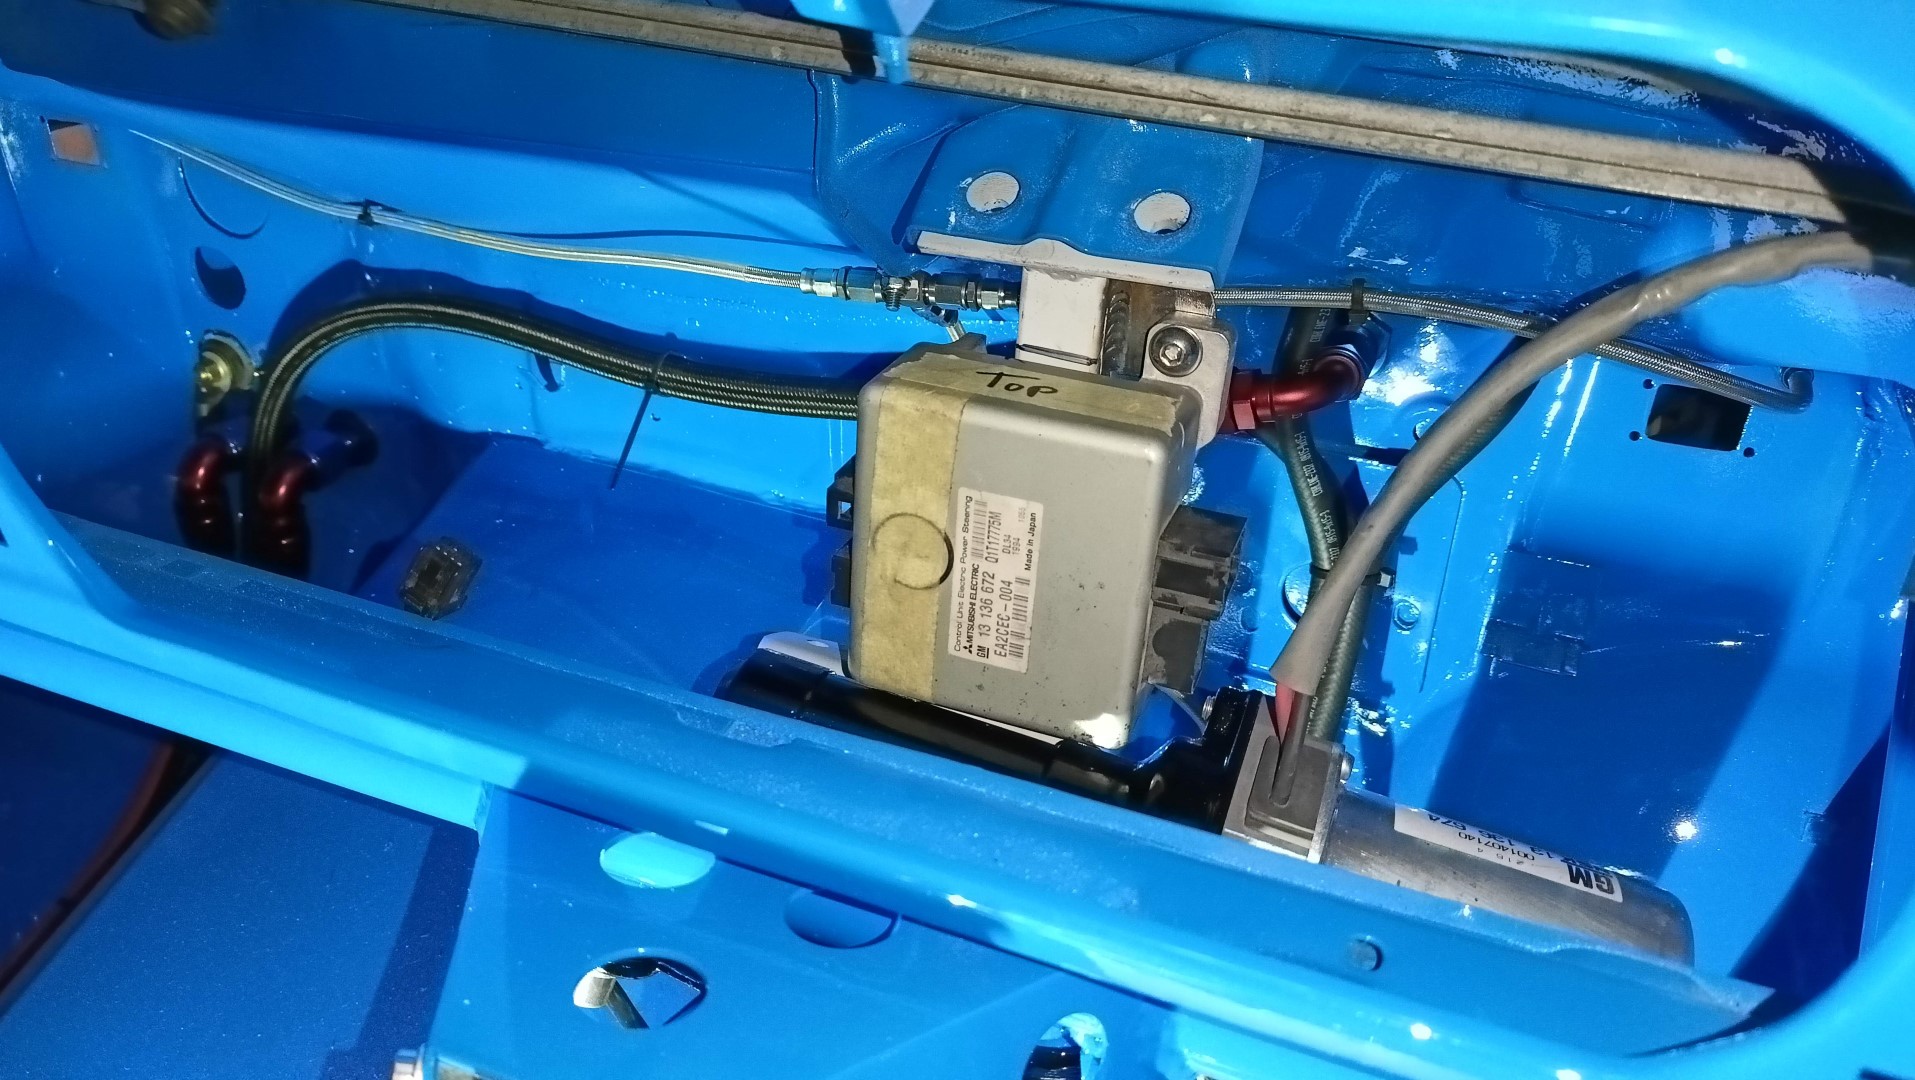
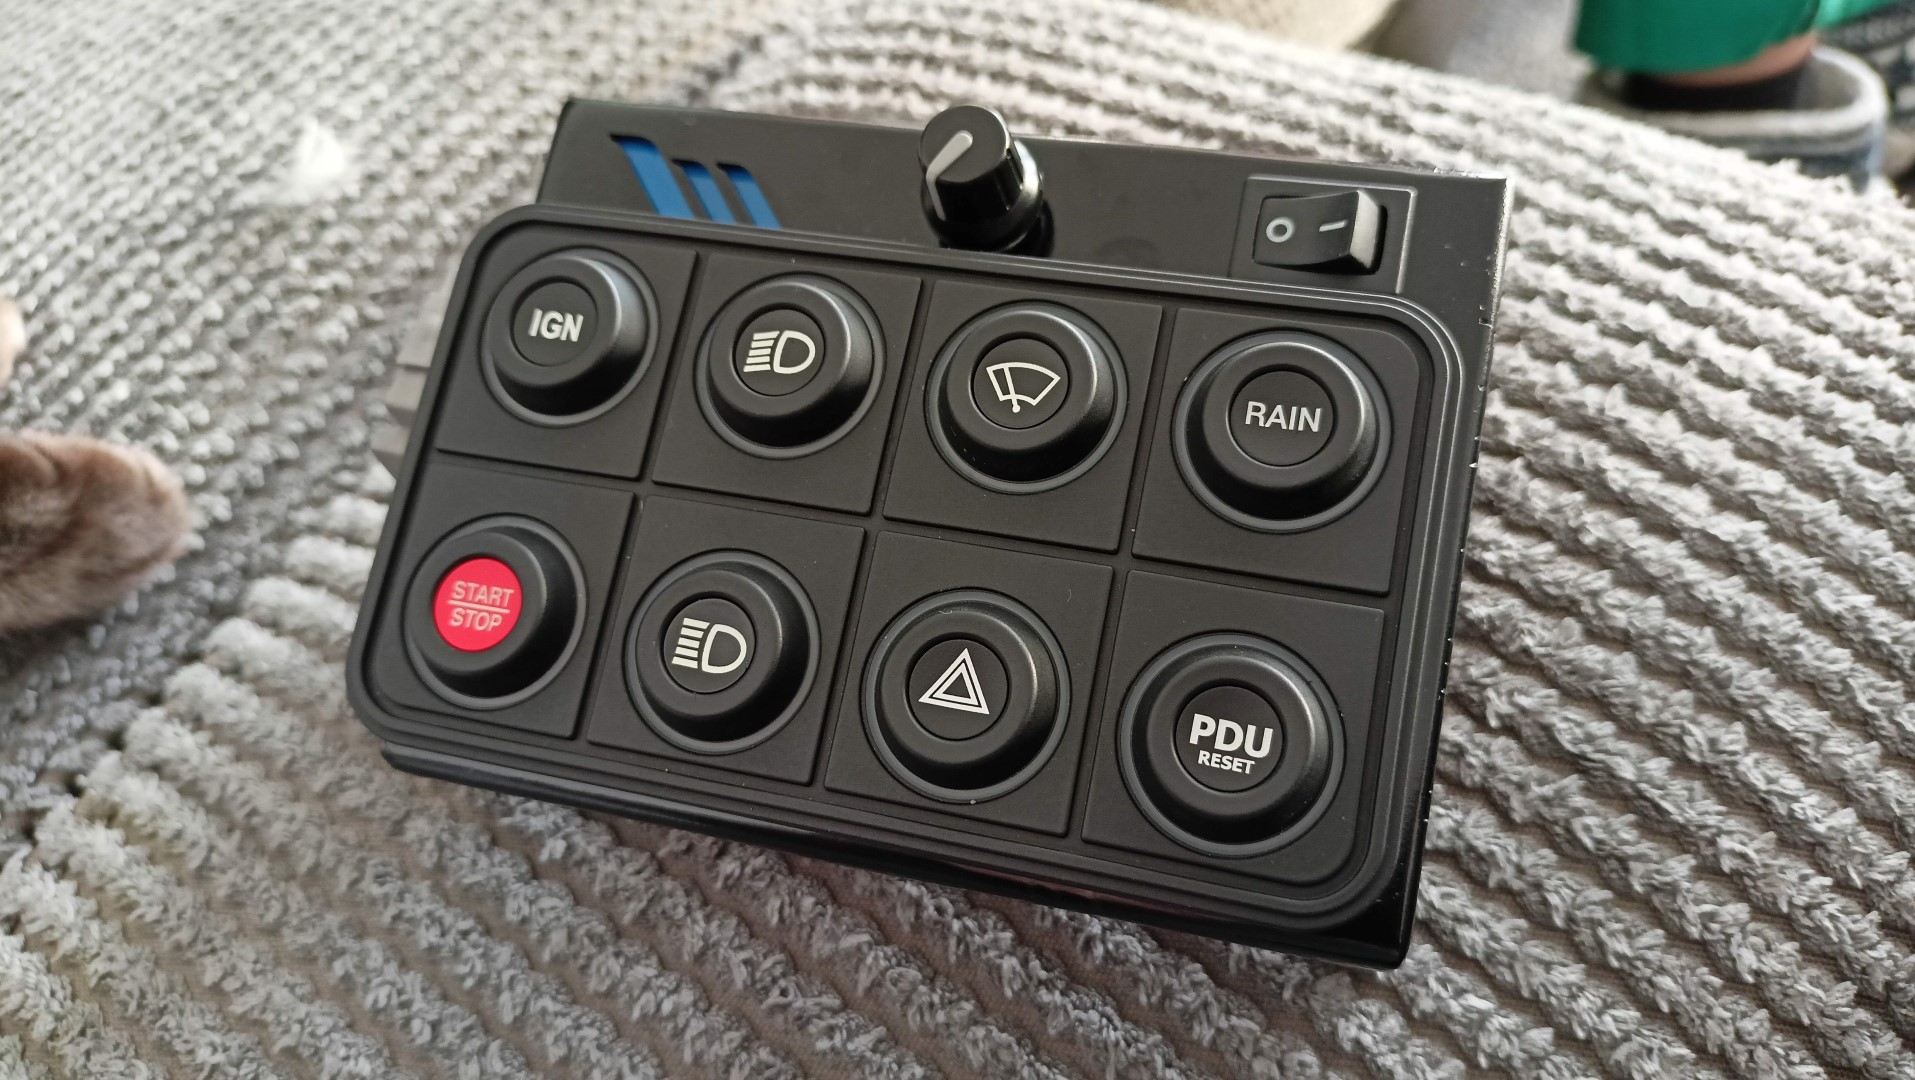
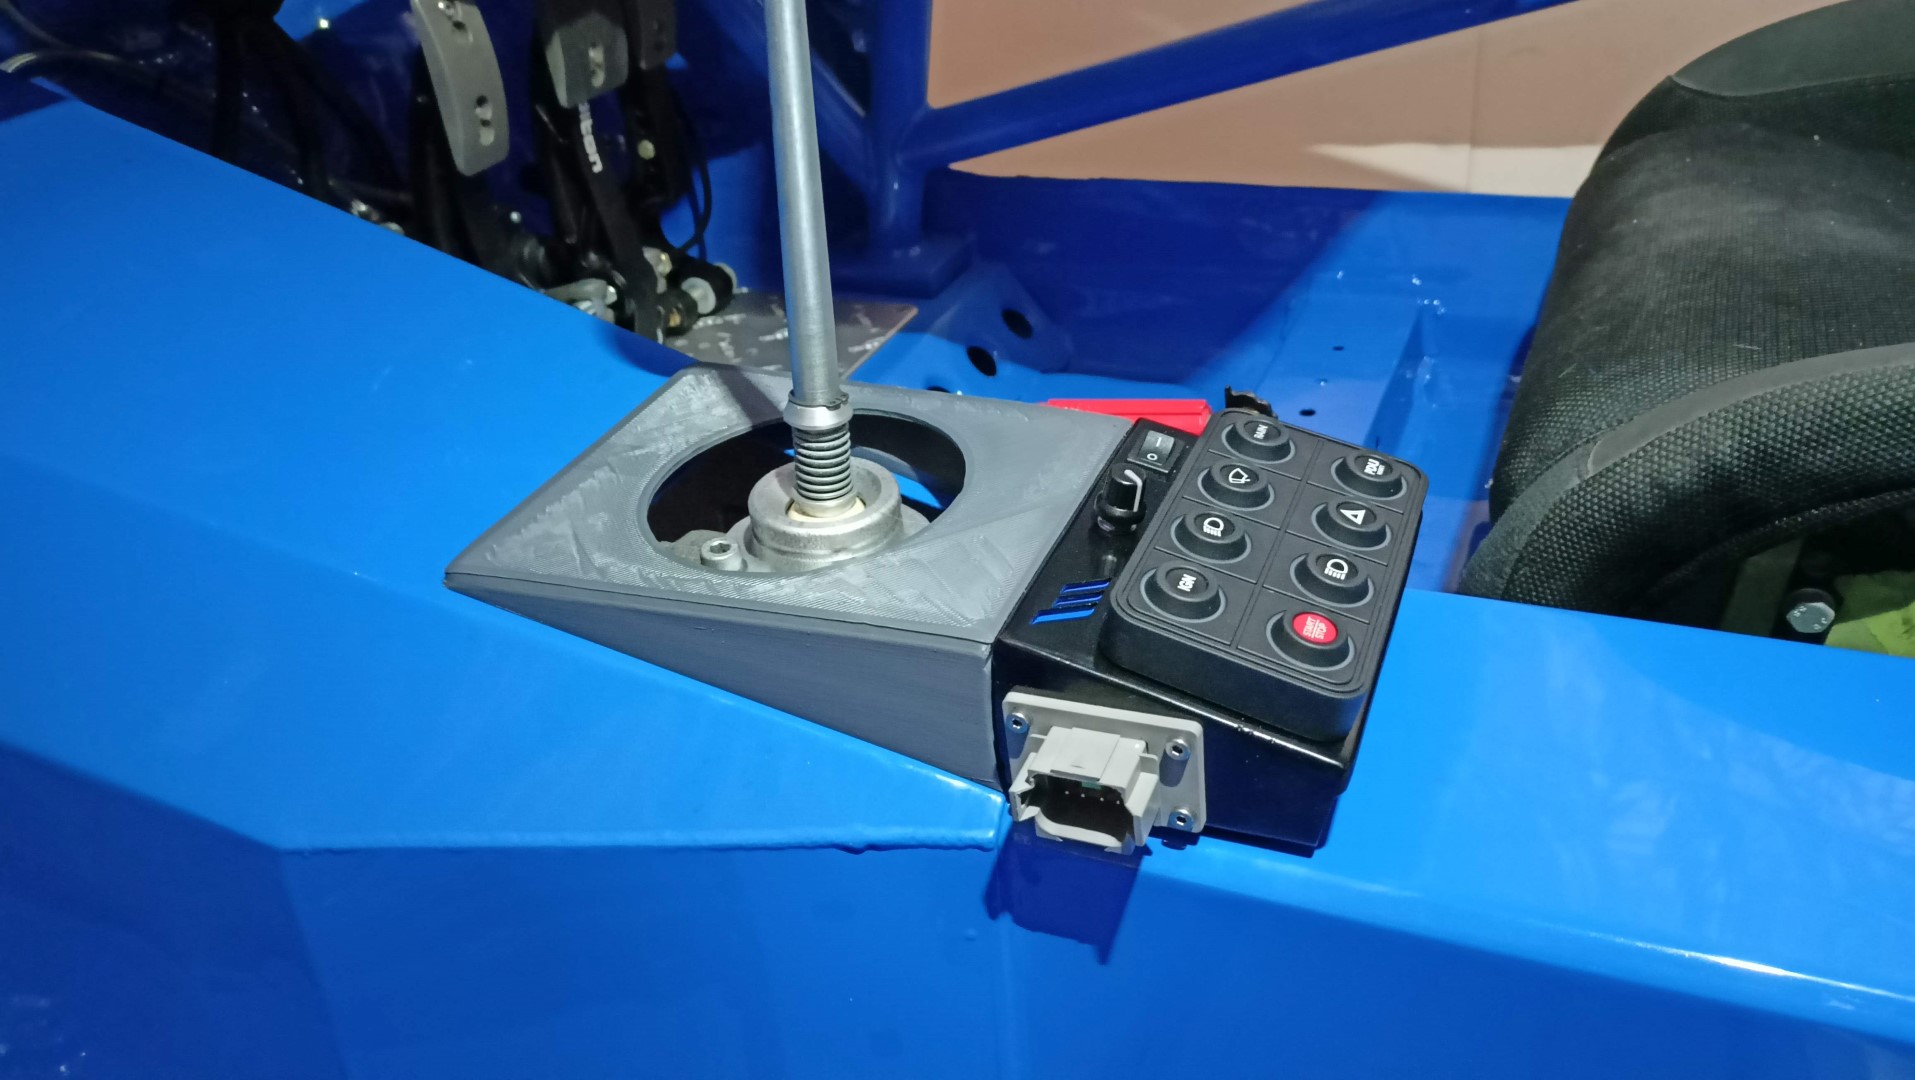
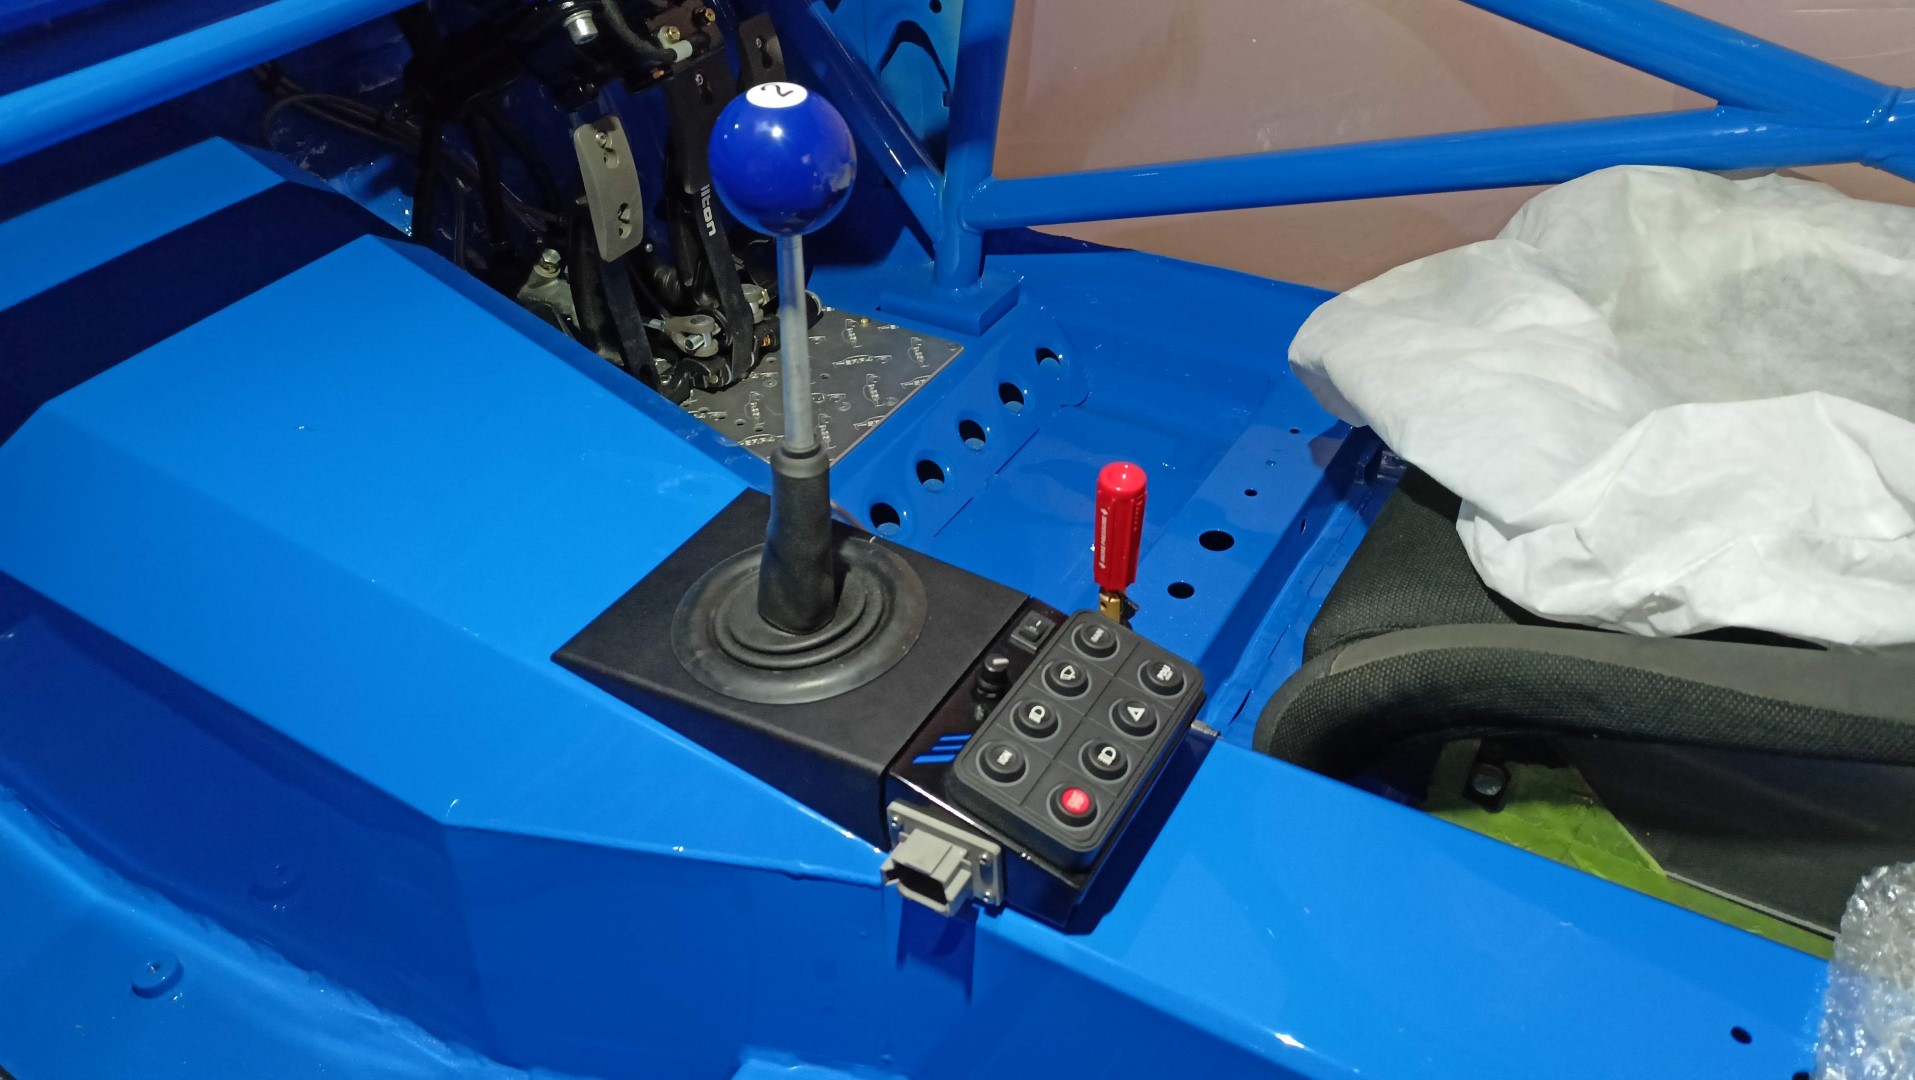
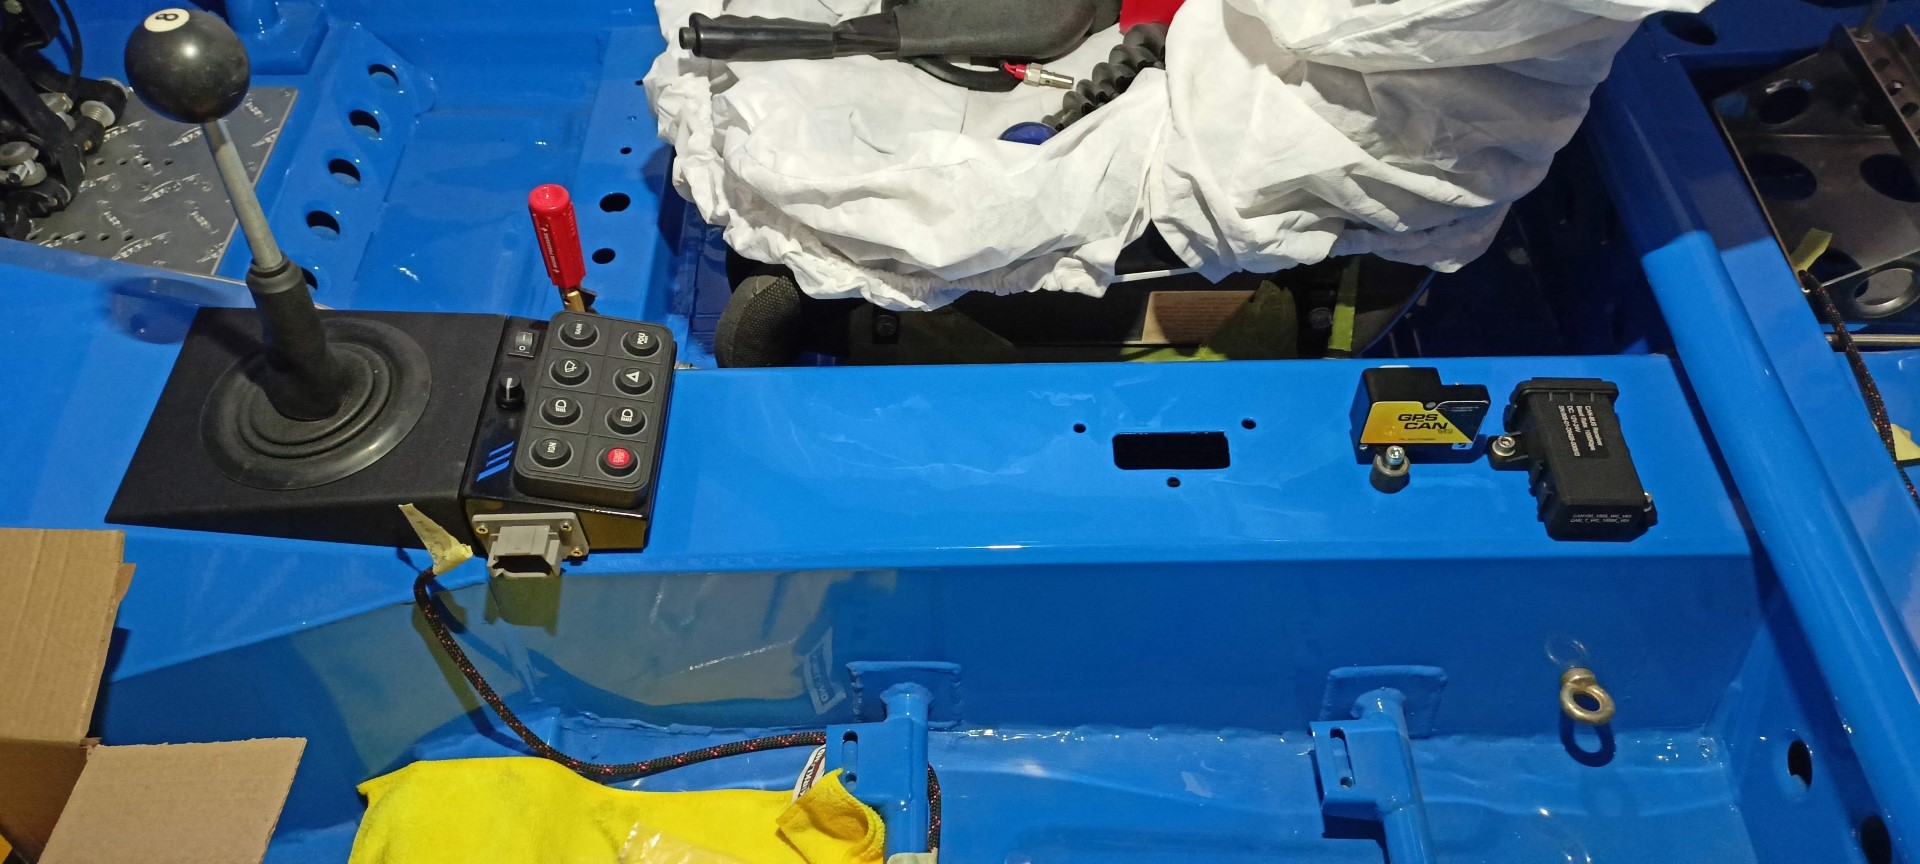
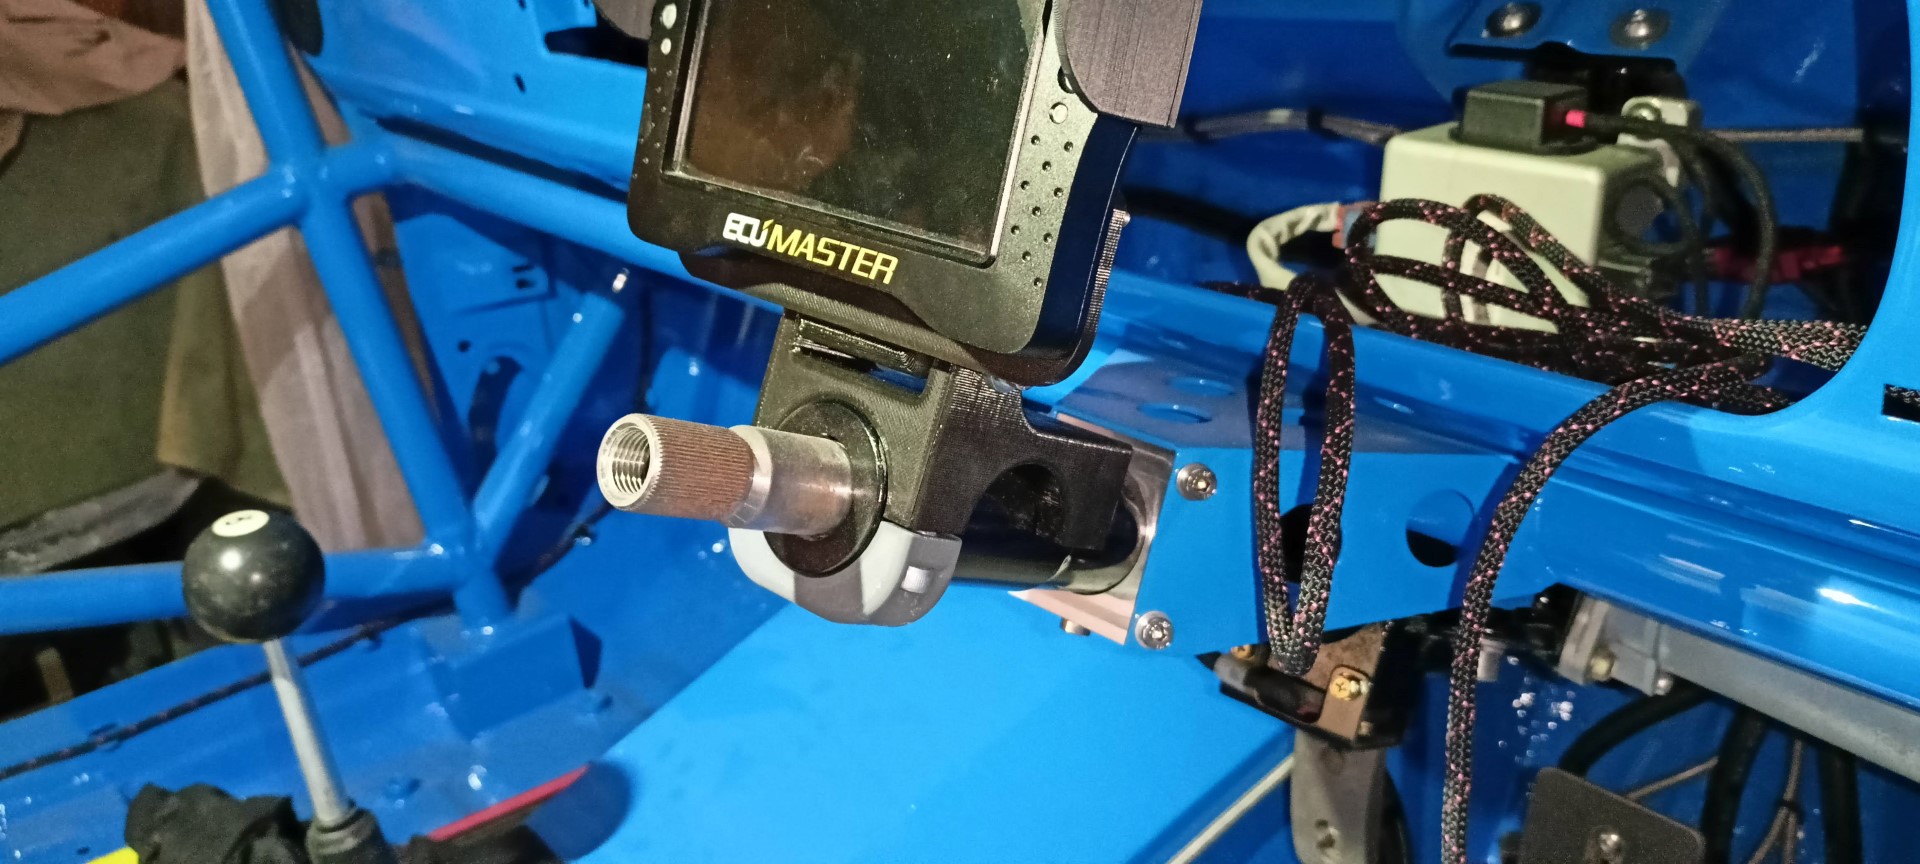
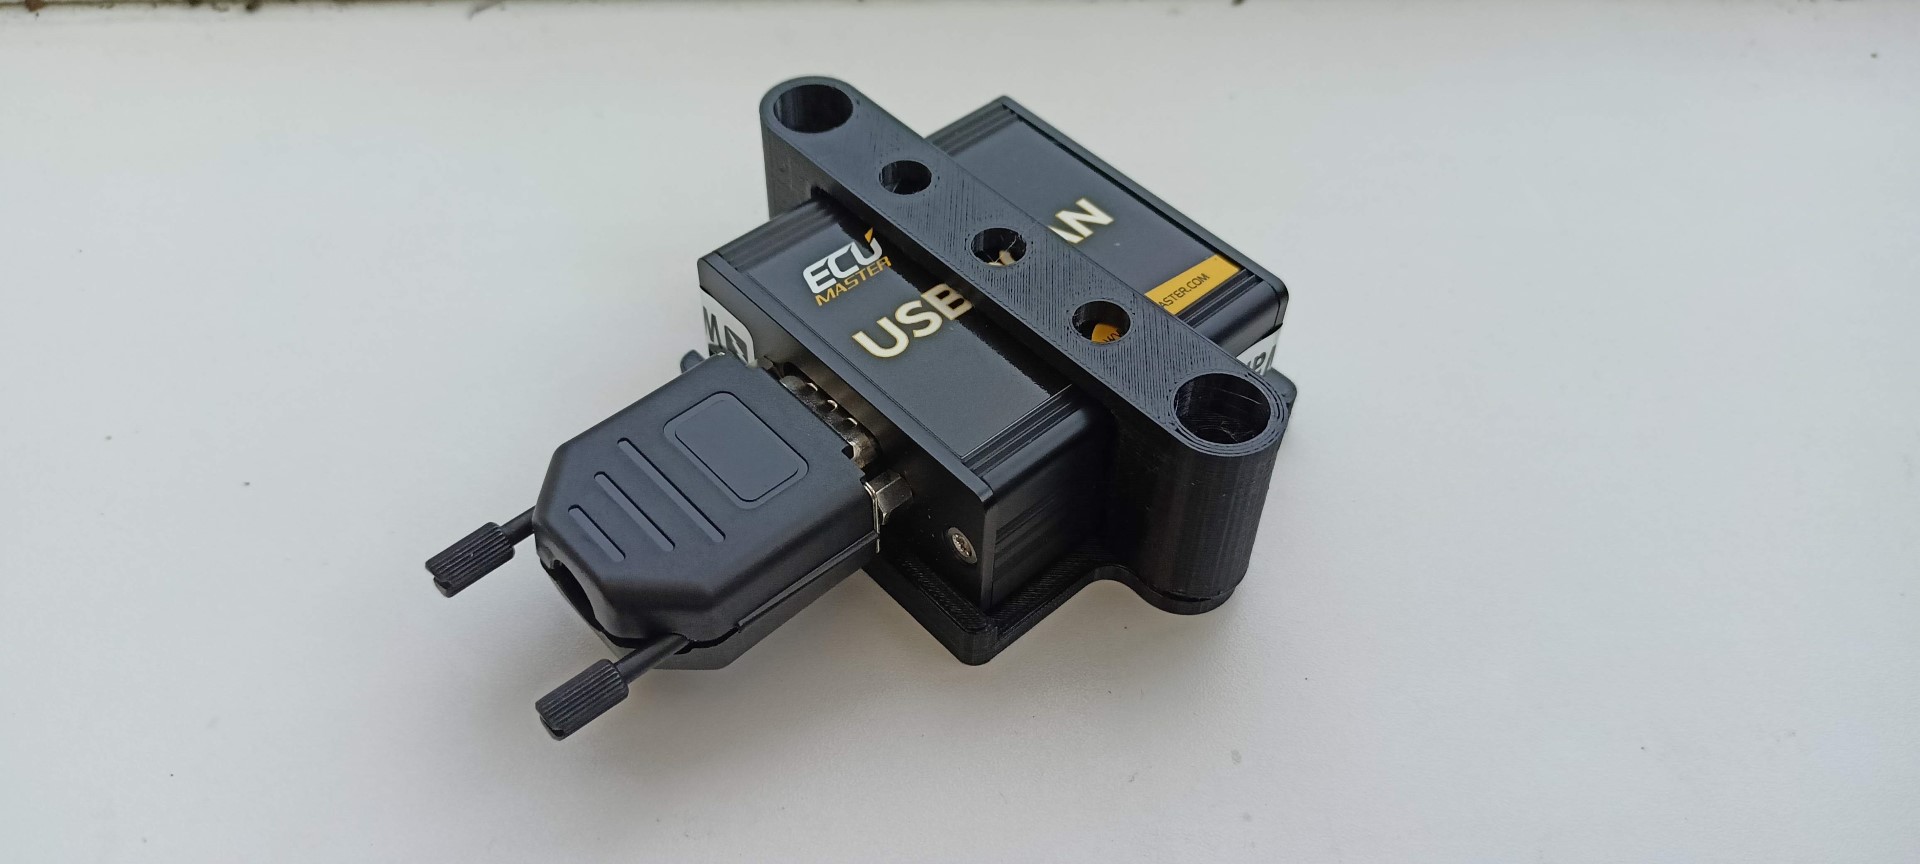
The EMU black looks like a good bit of kit. I’ll be really interested to see how this works out, combined with the PDU. It’s something I have to tackle for my project soon. Their key pad options look better than most too.
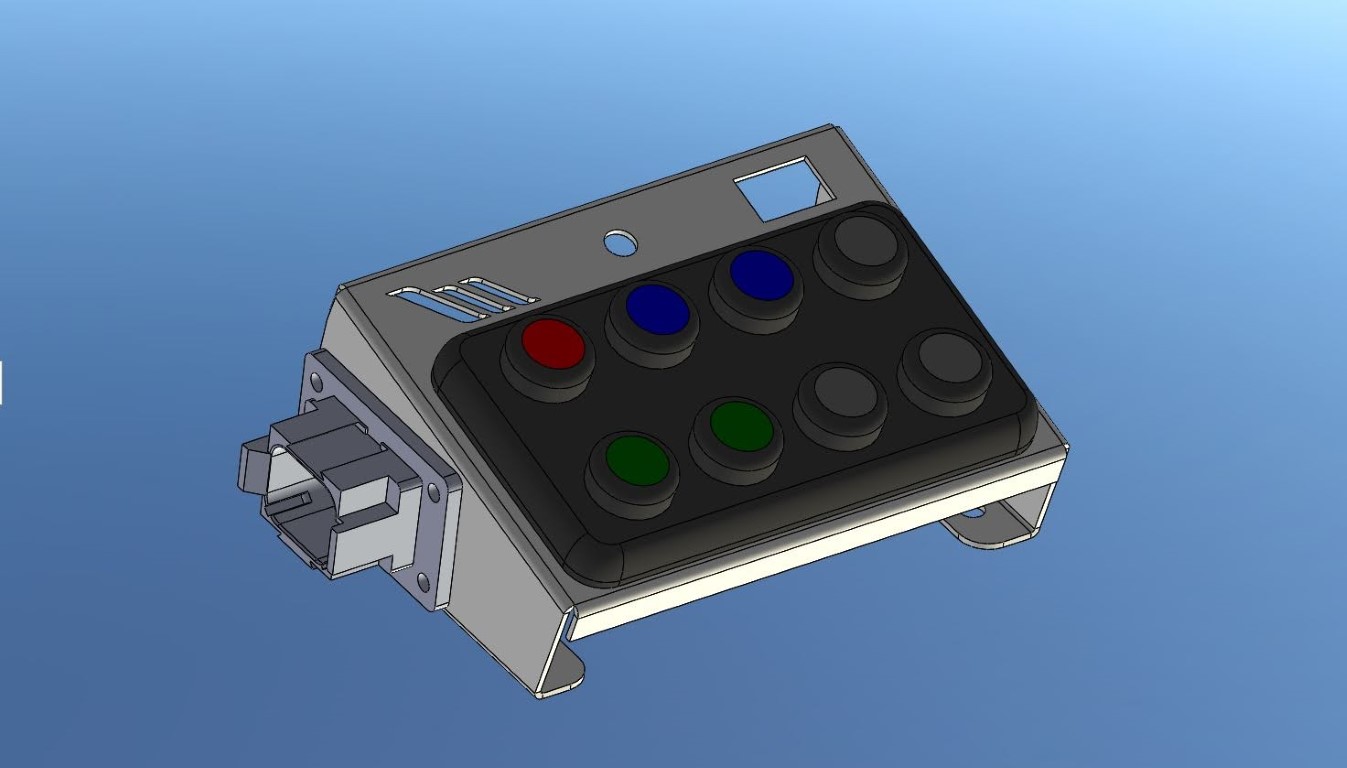
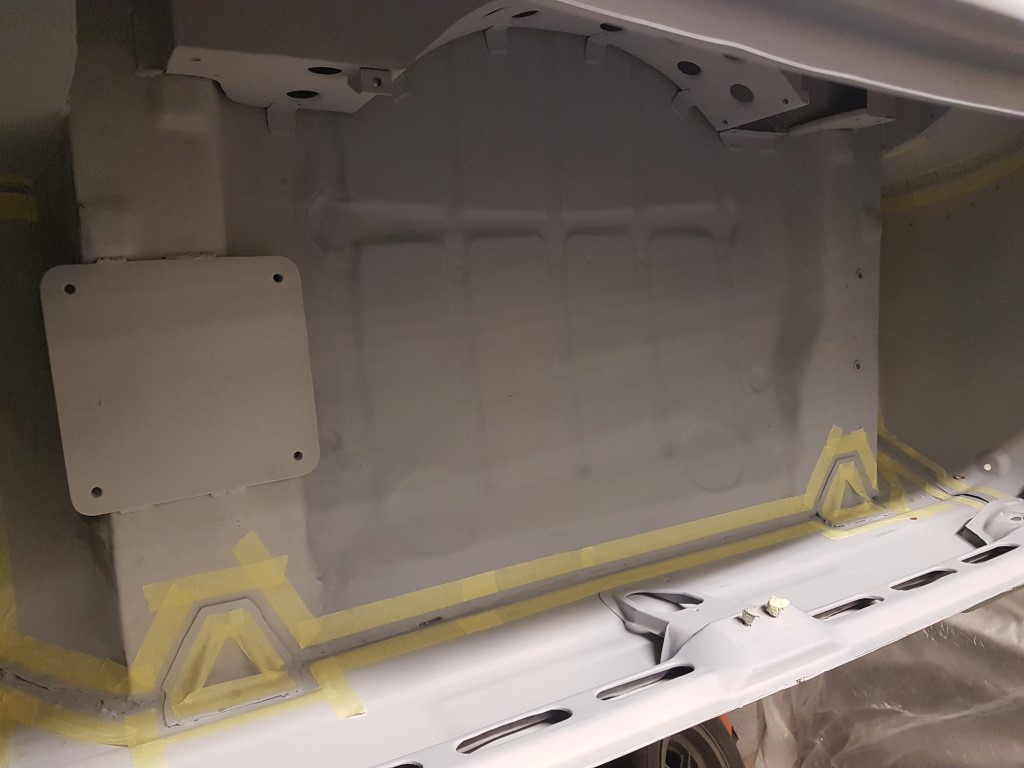
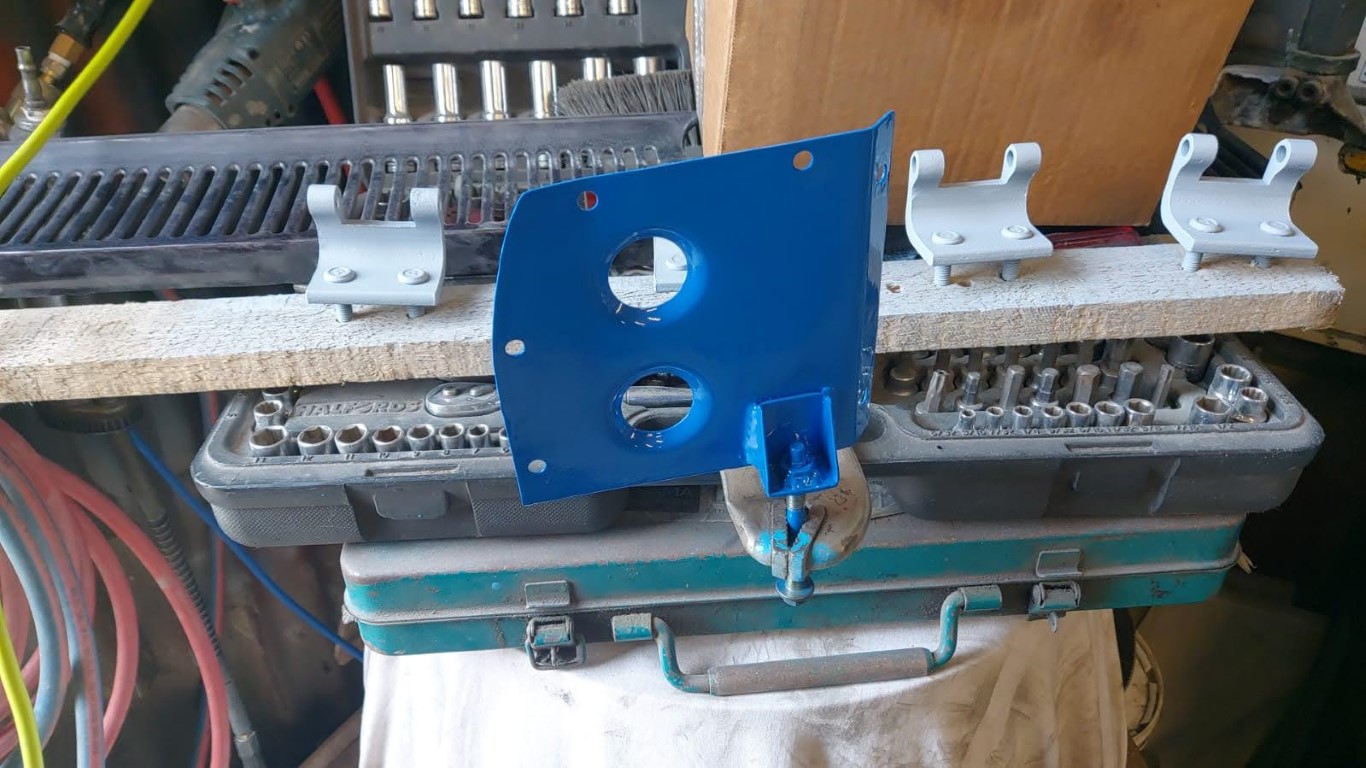
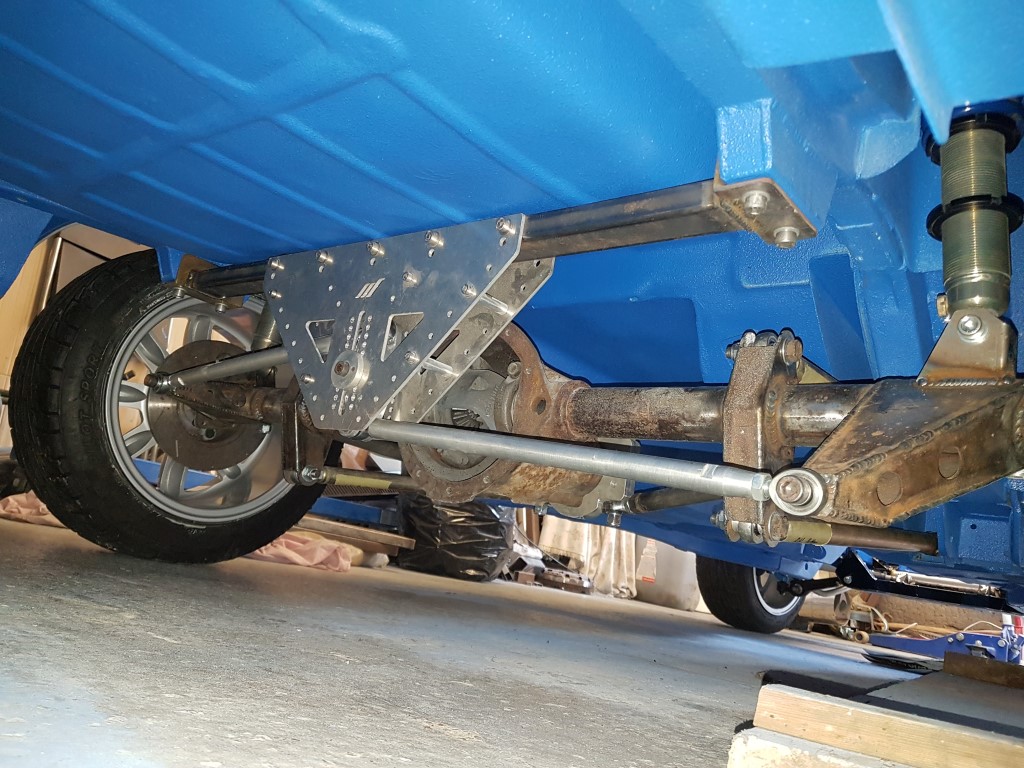
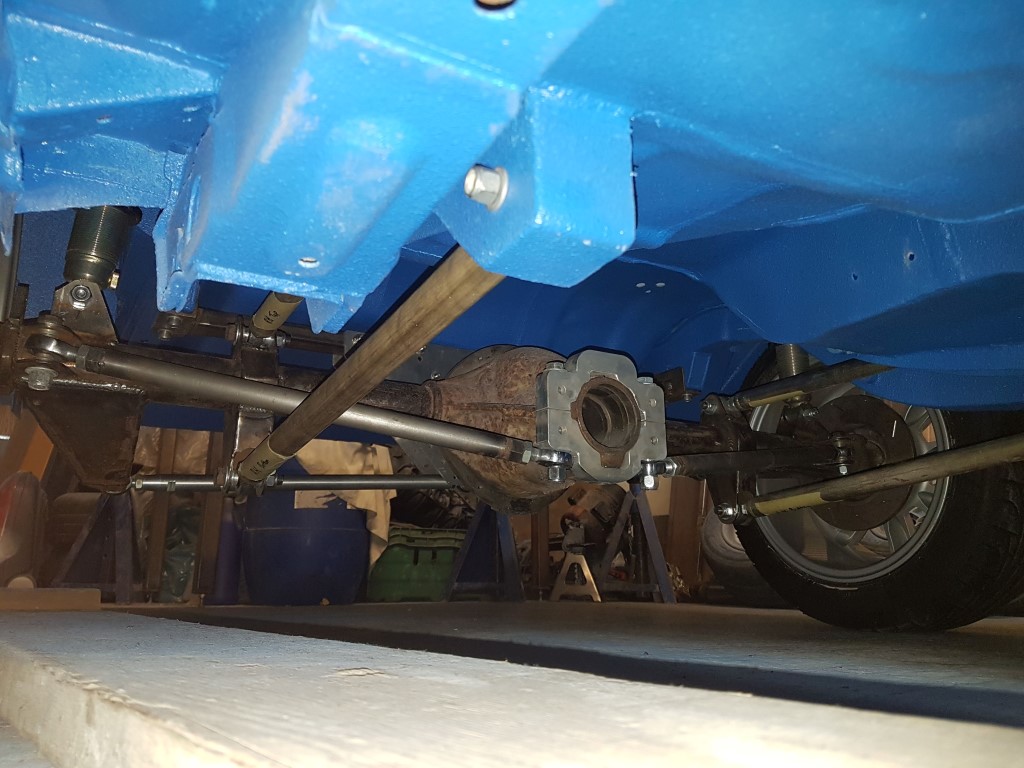
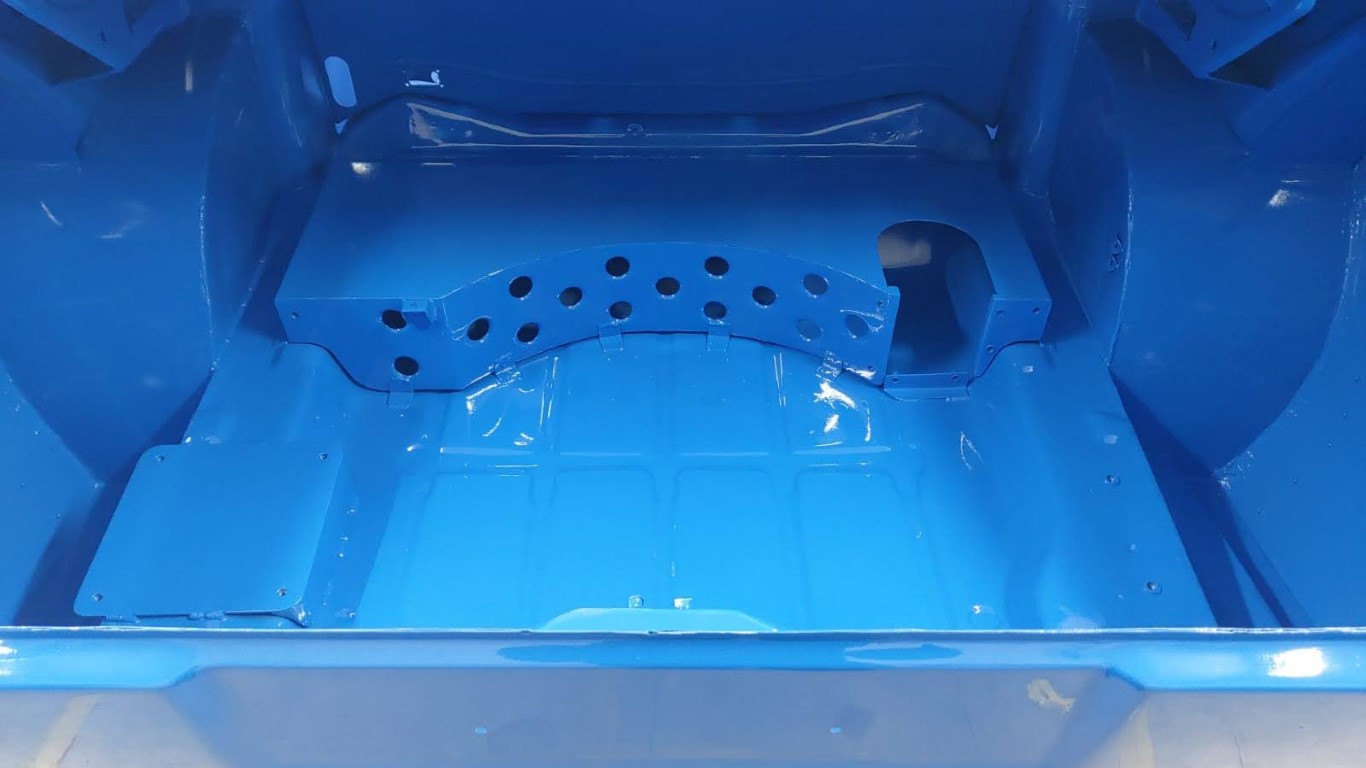
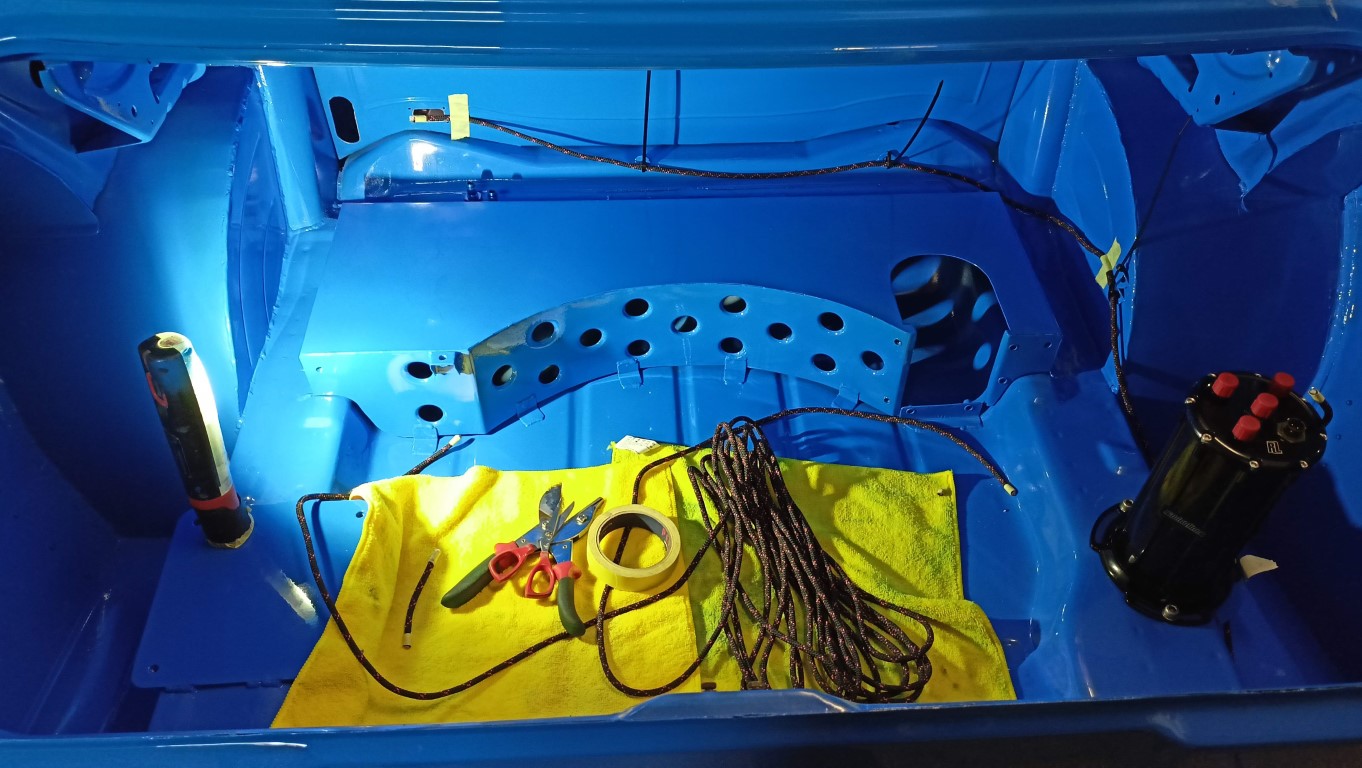
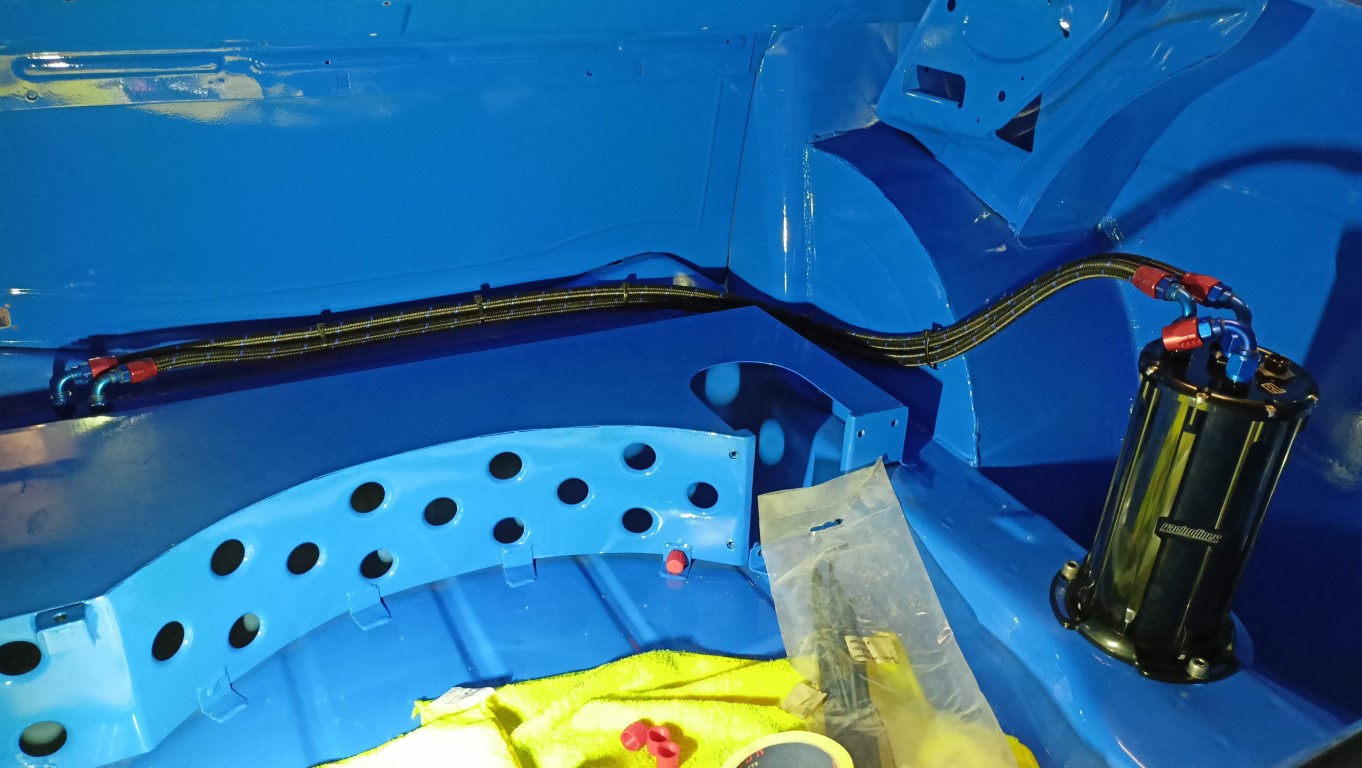
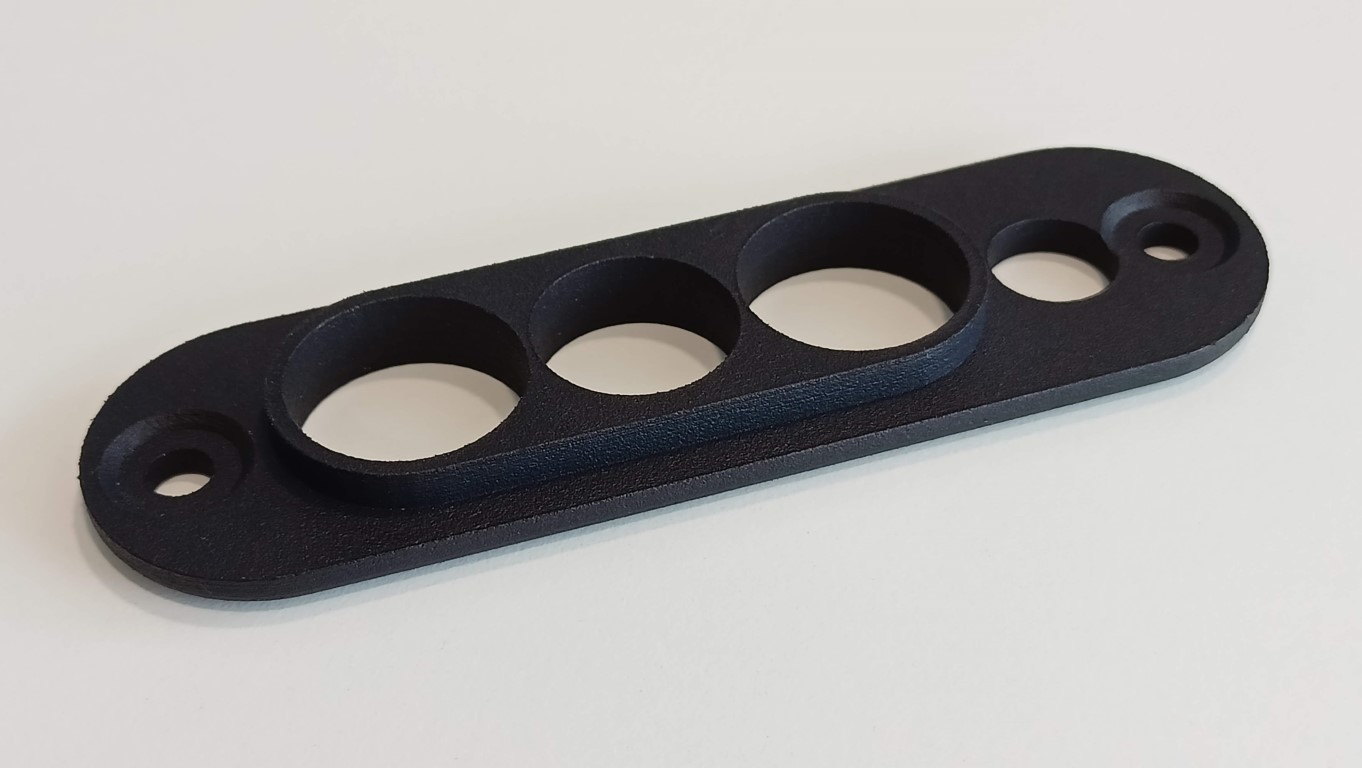
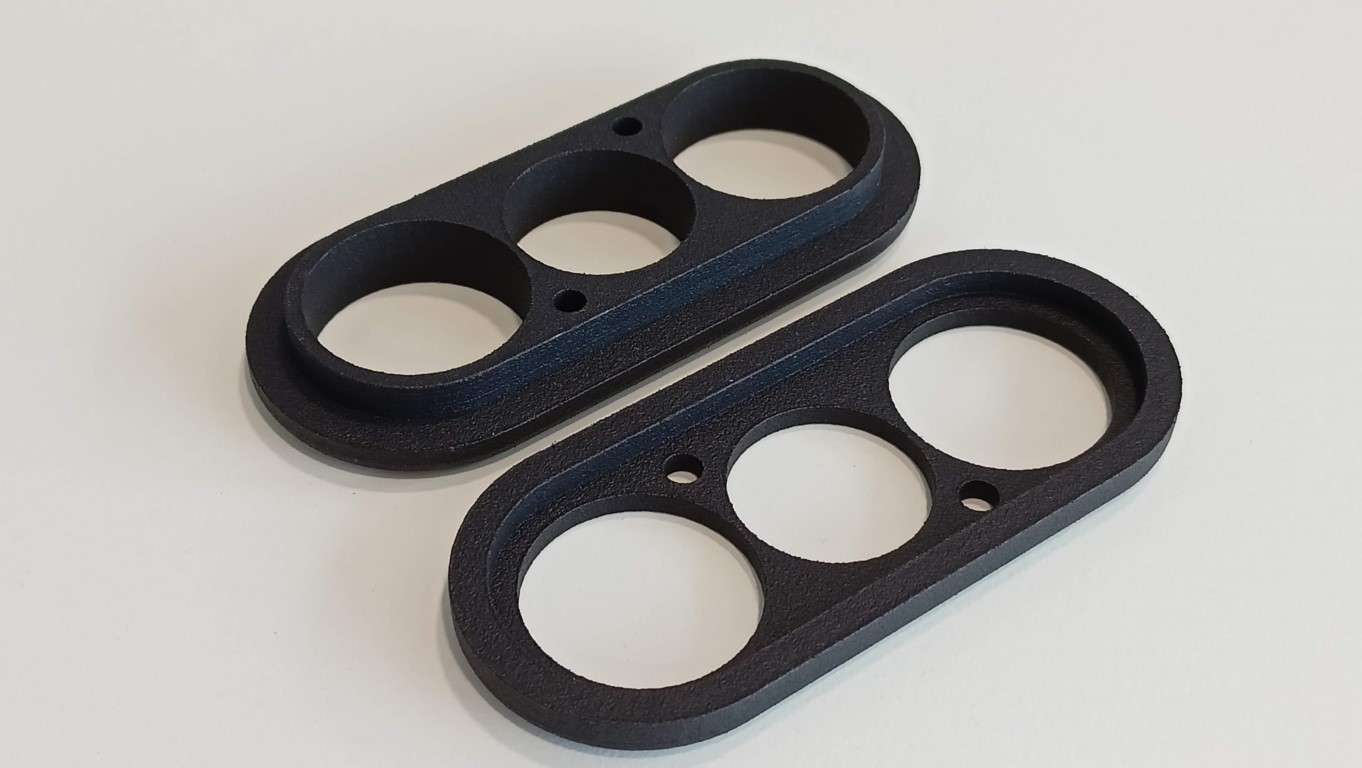
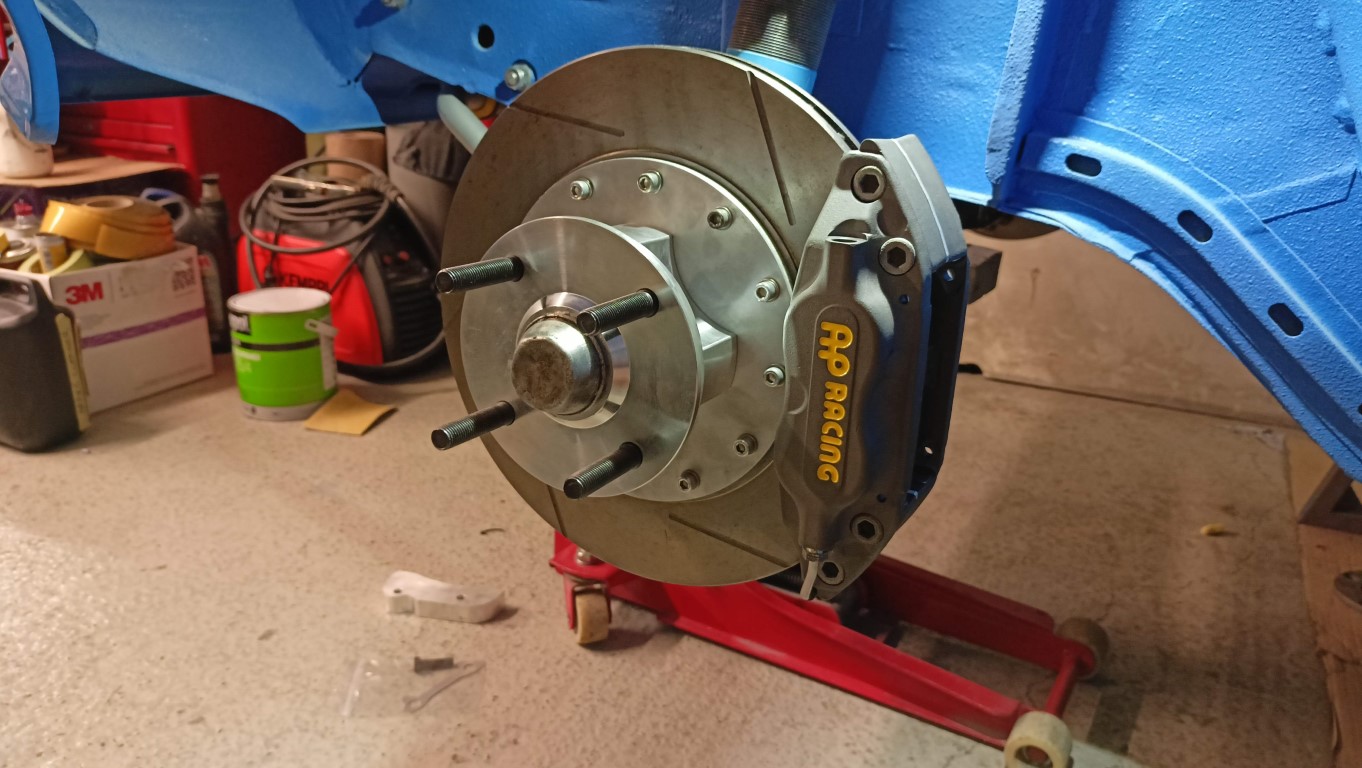
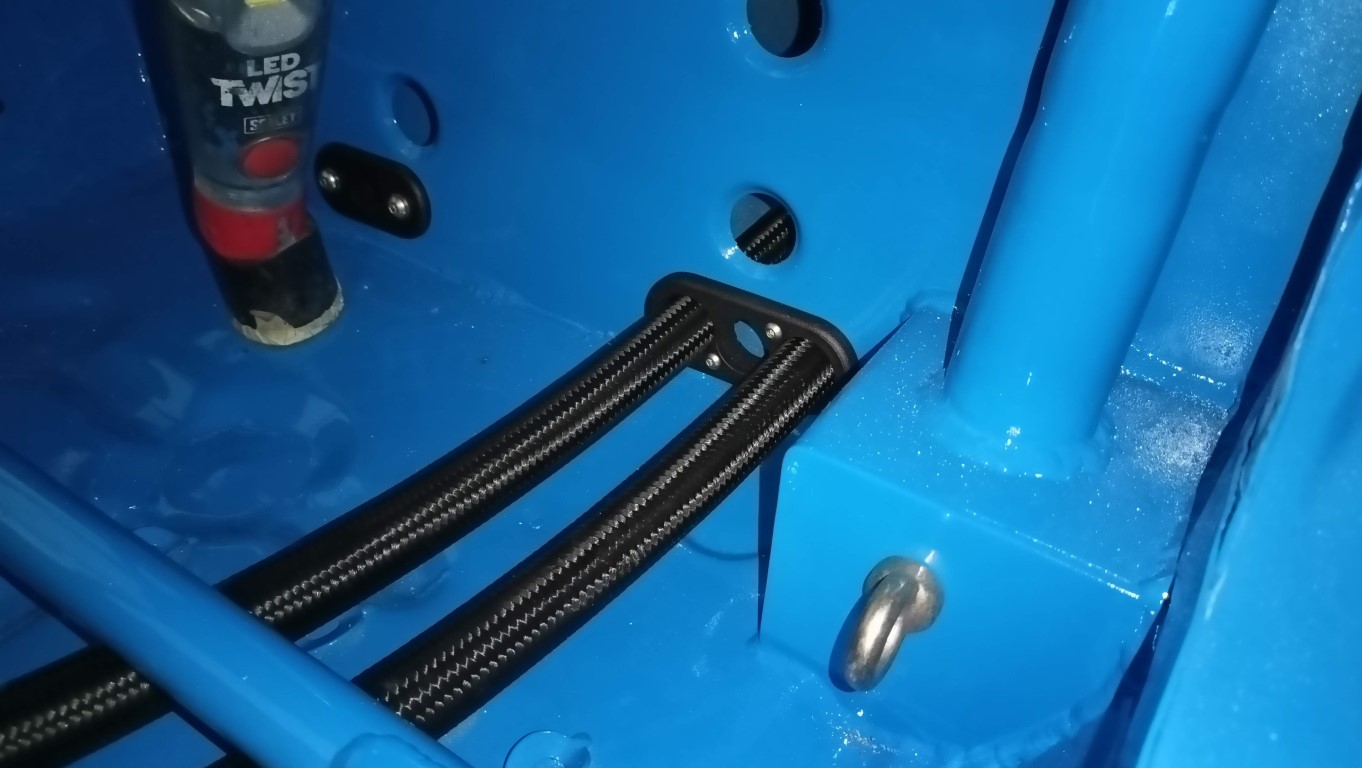
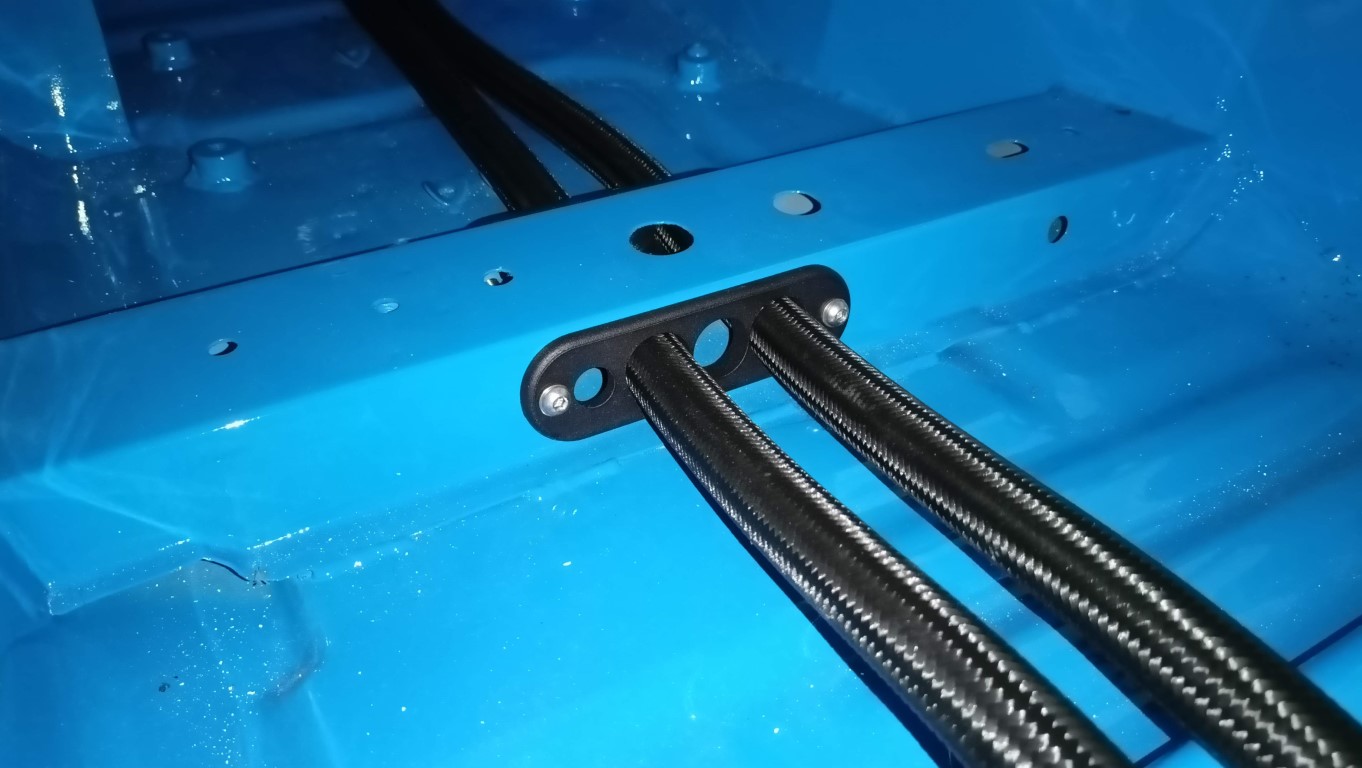
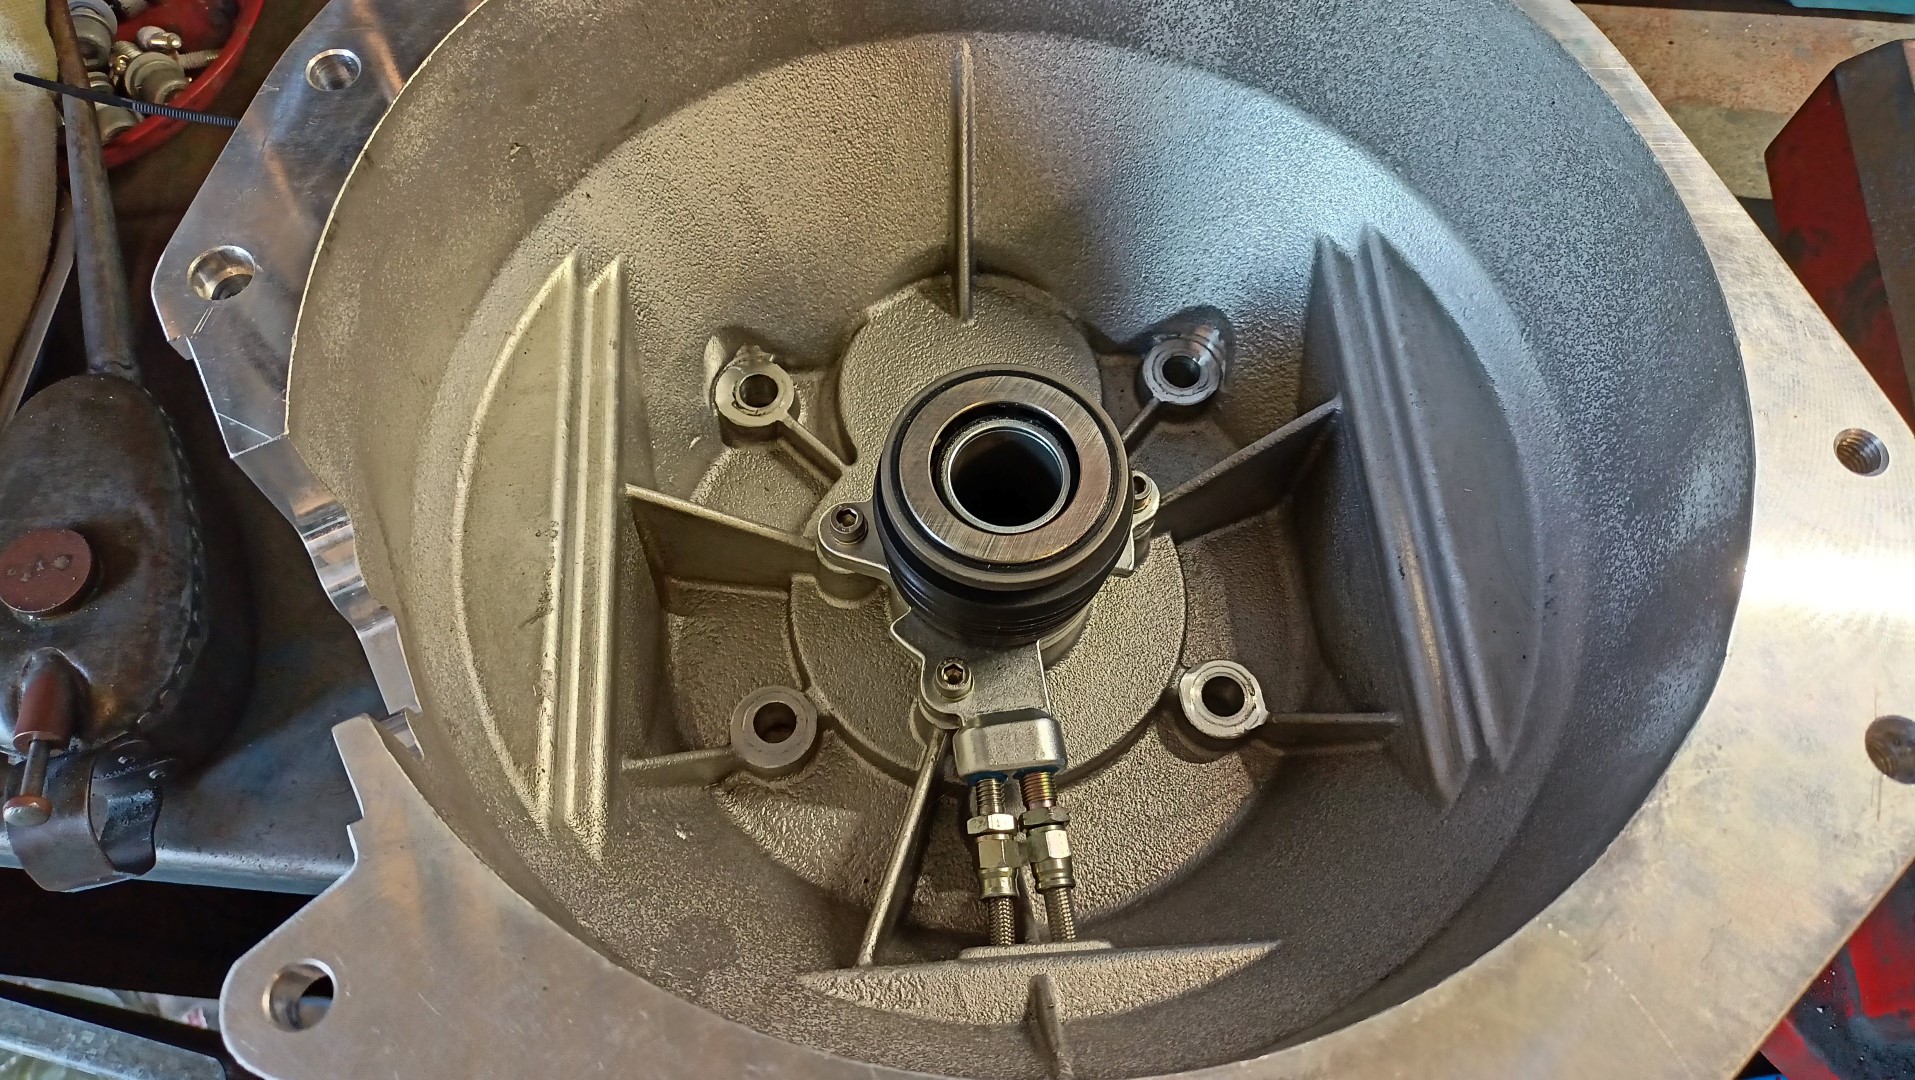
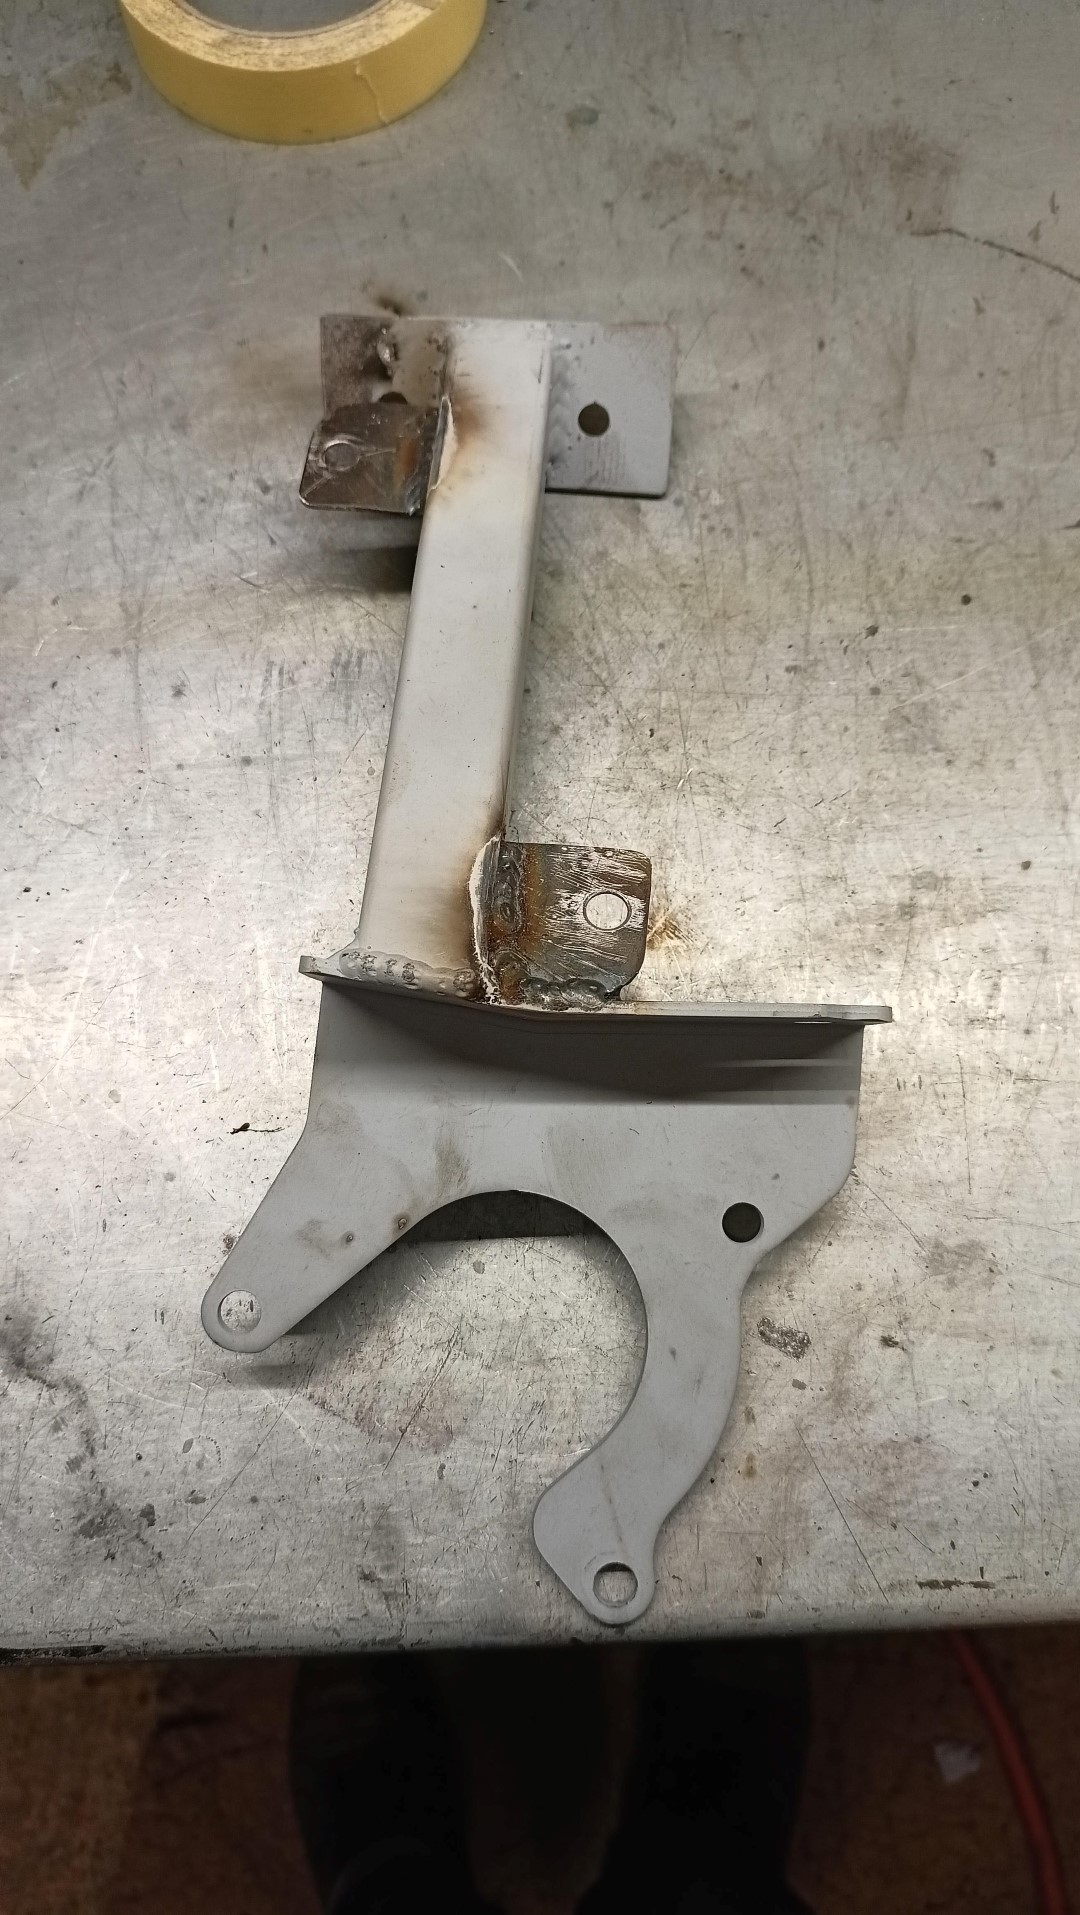
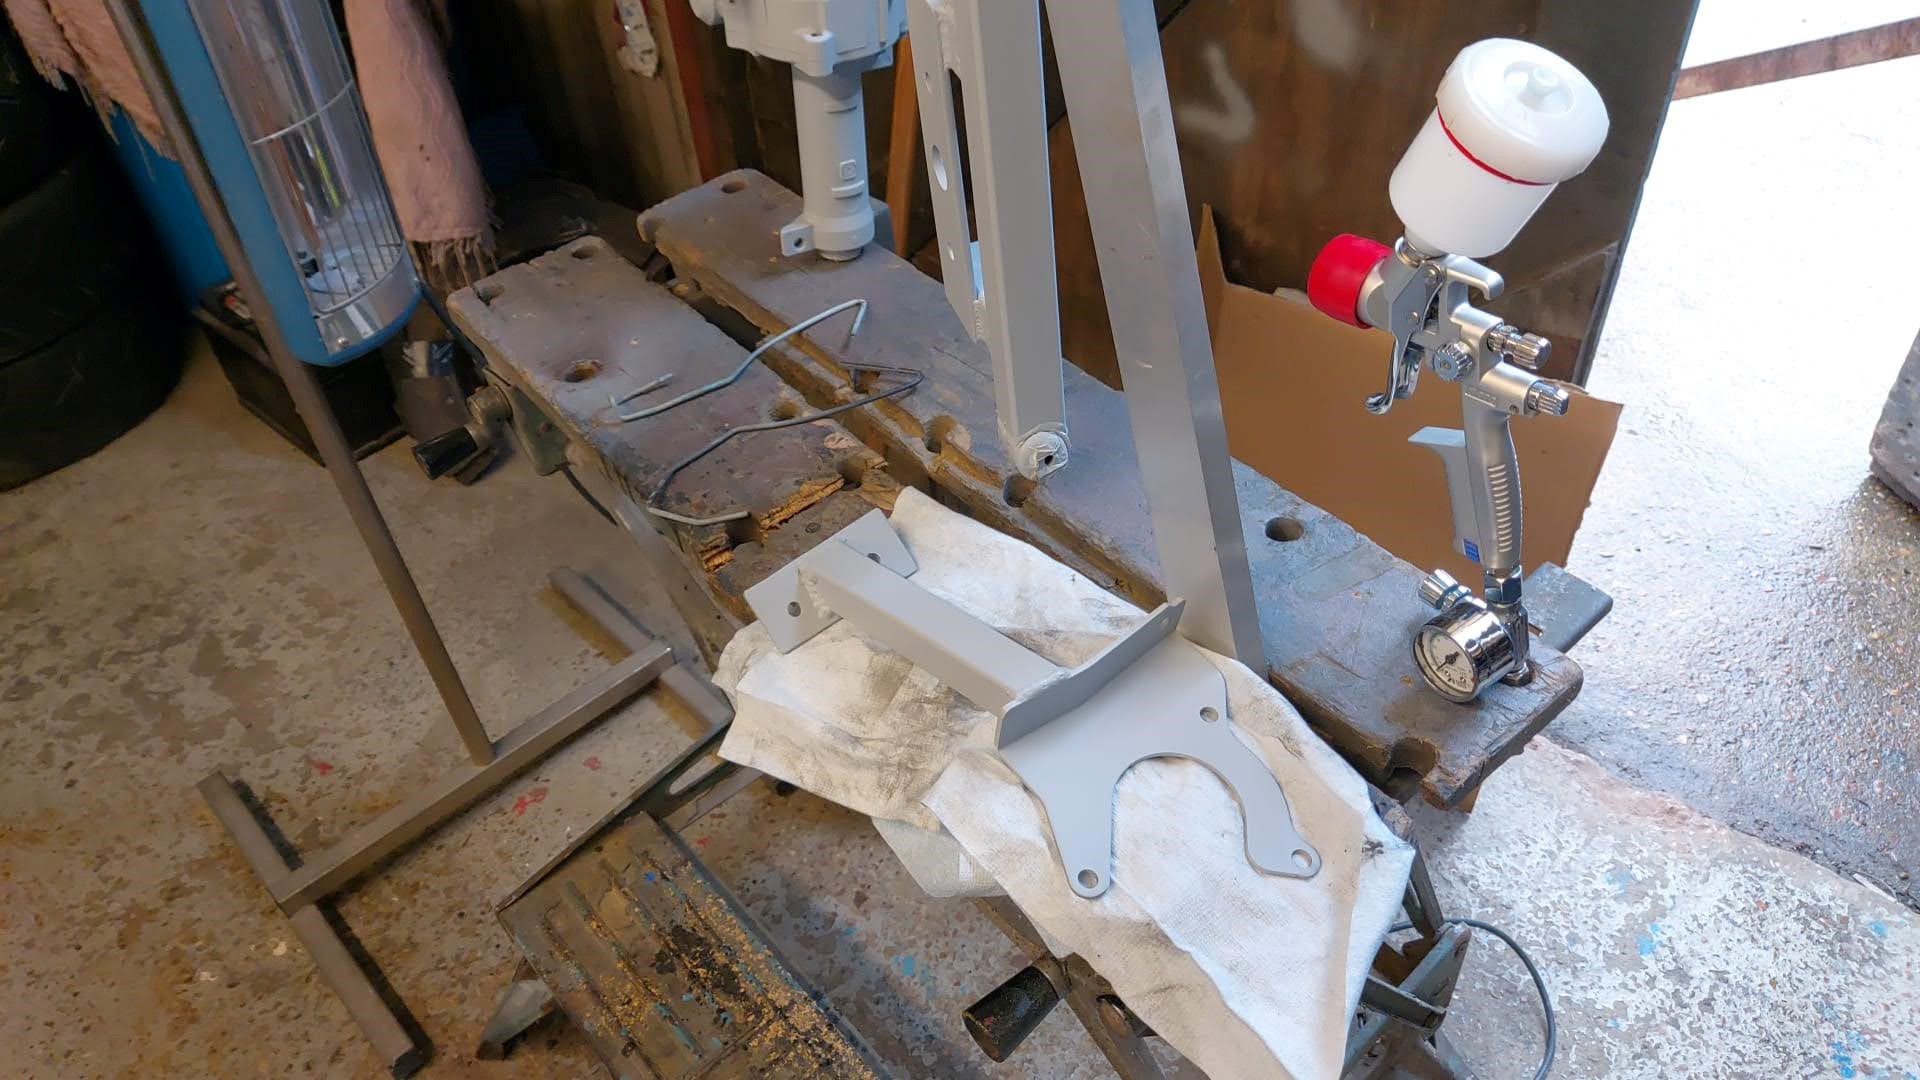
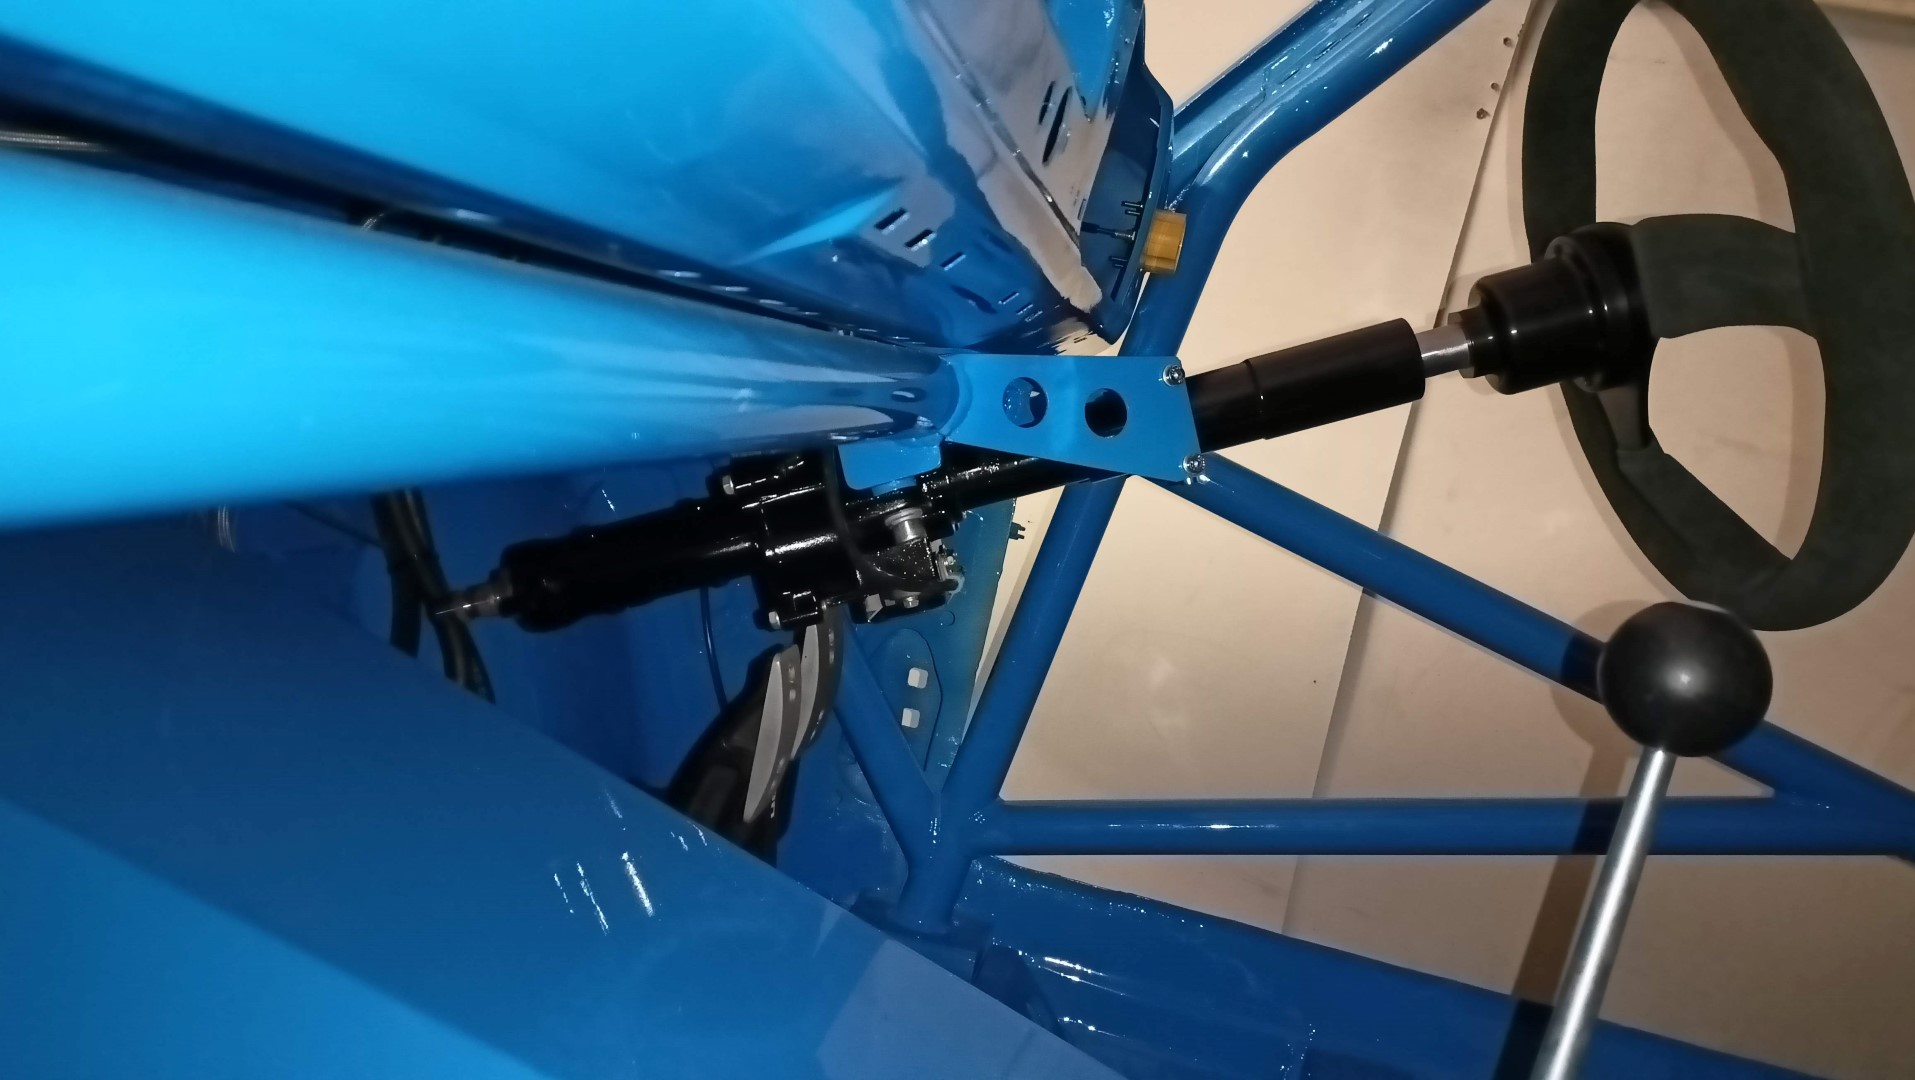
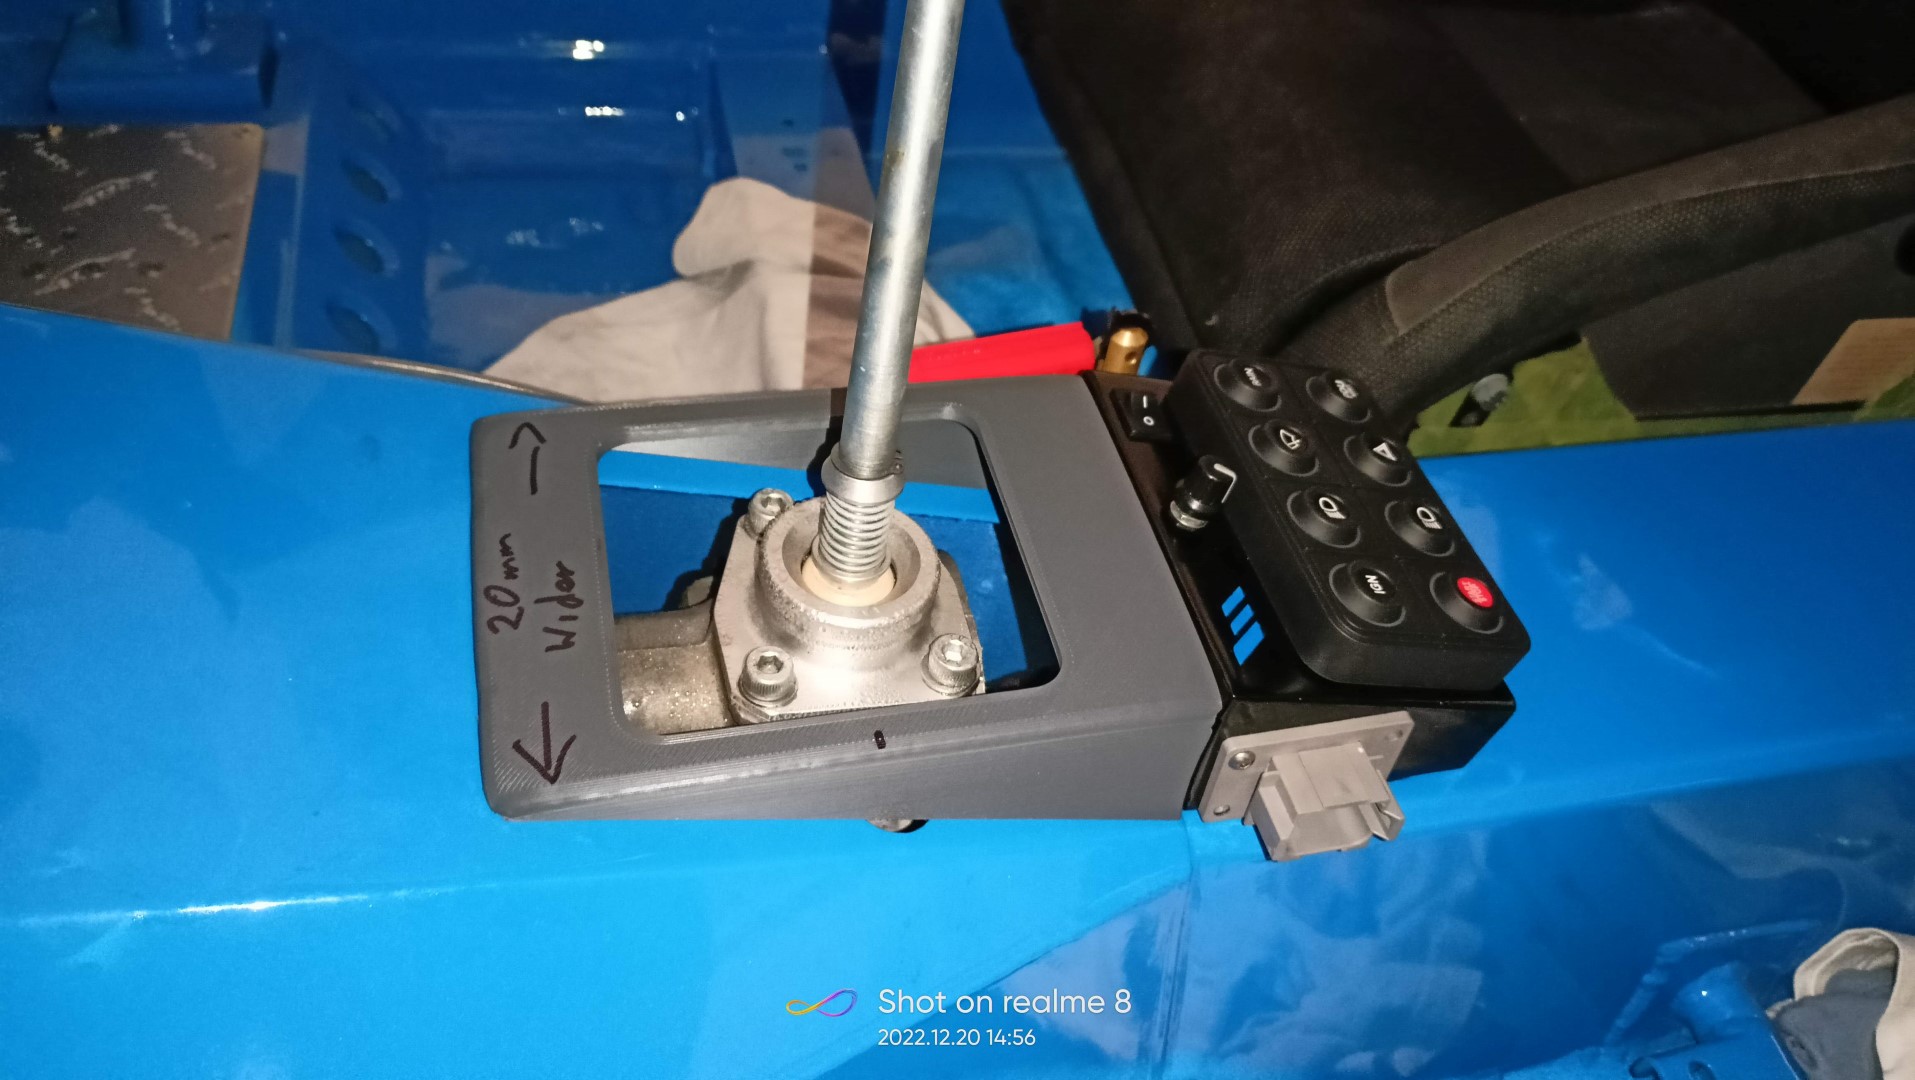
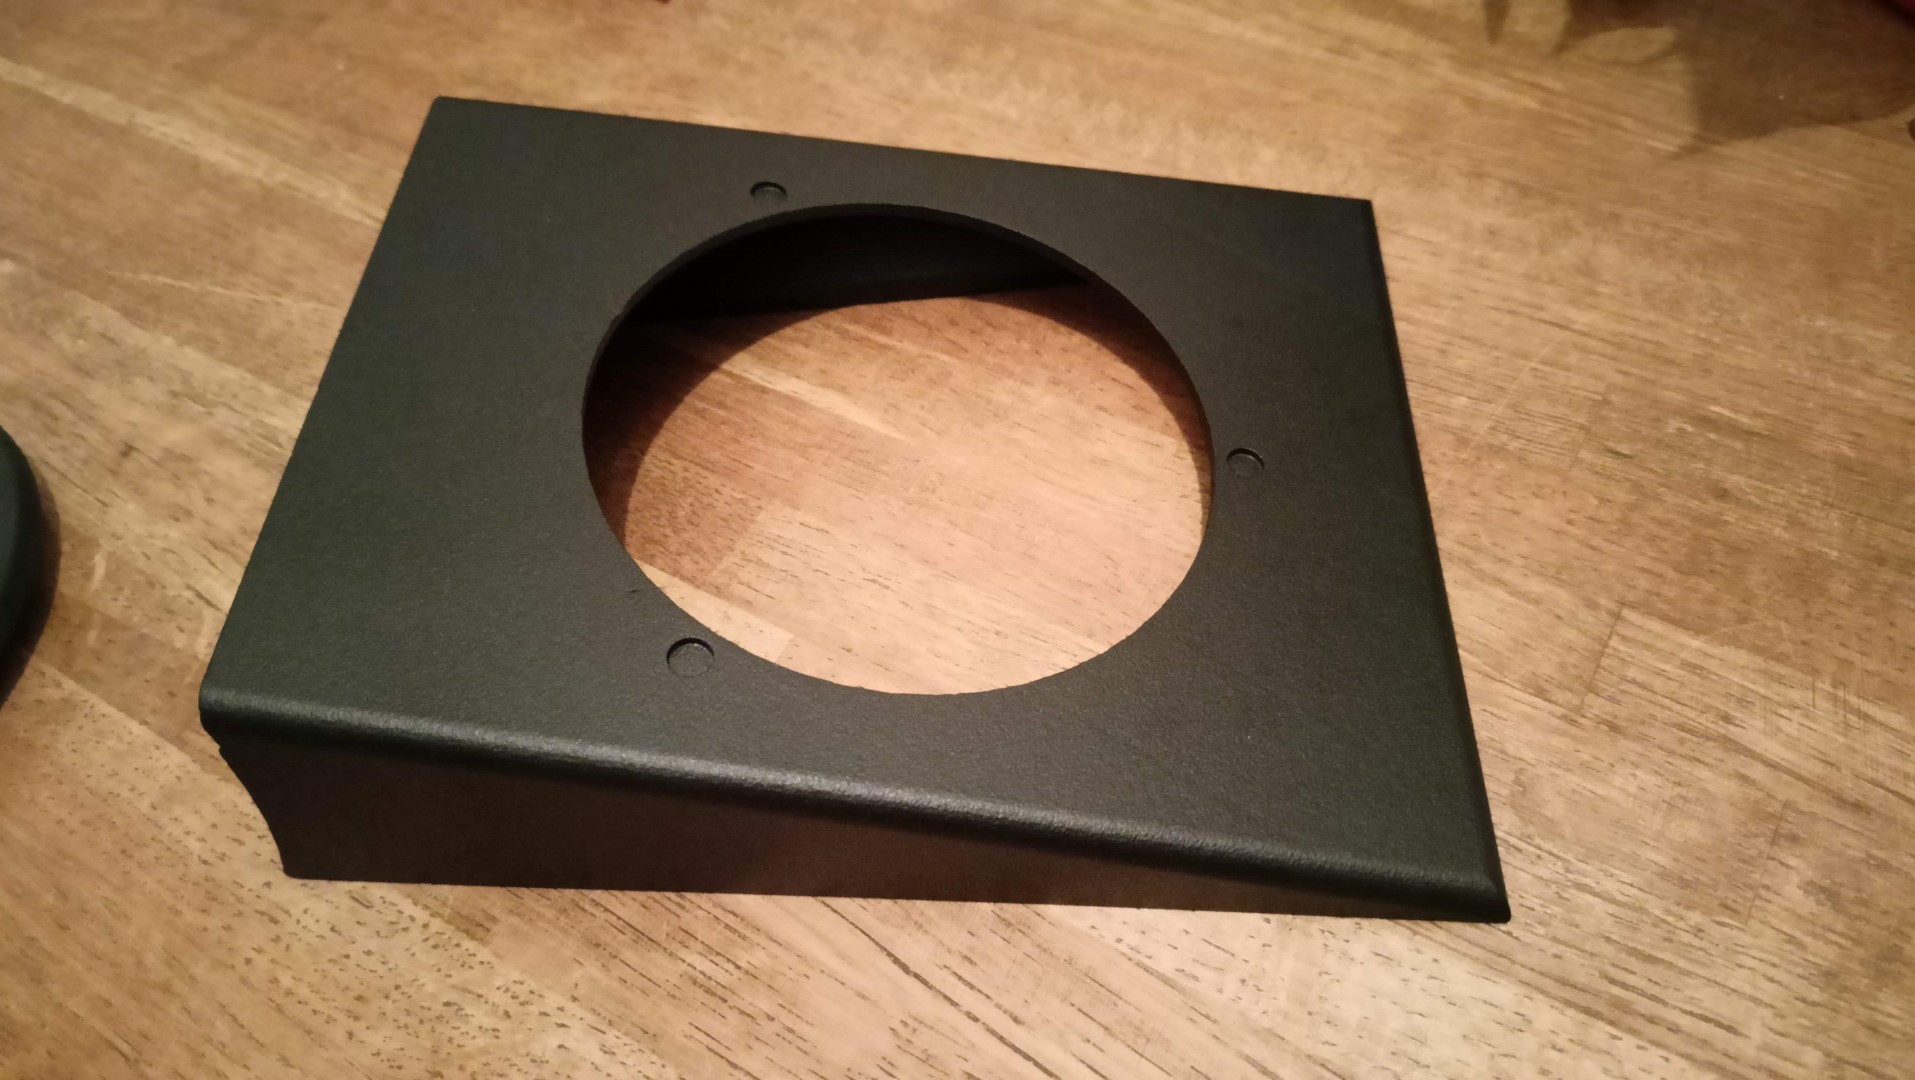
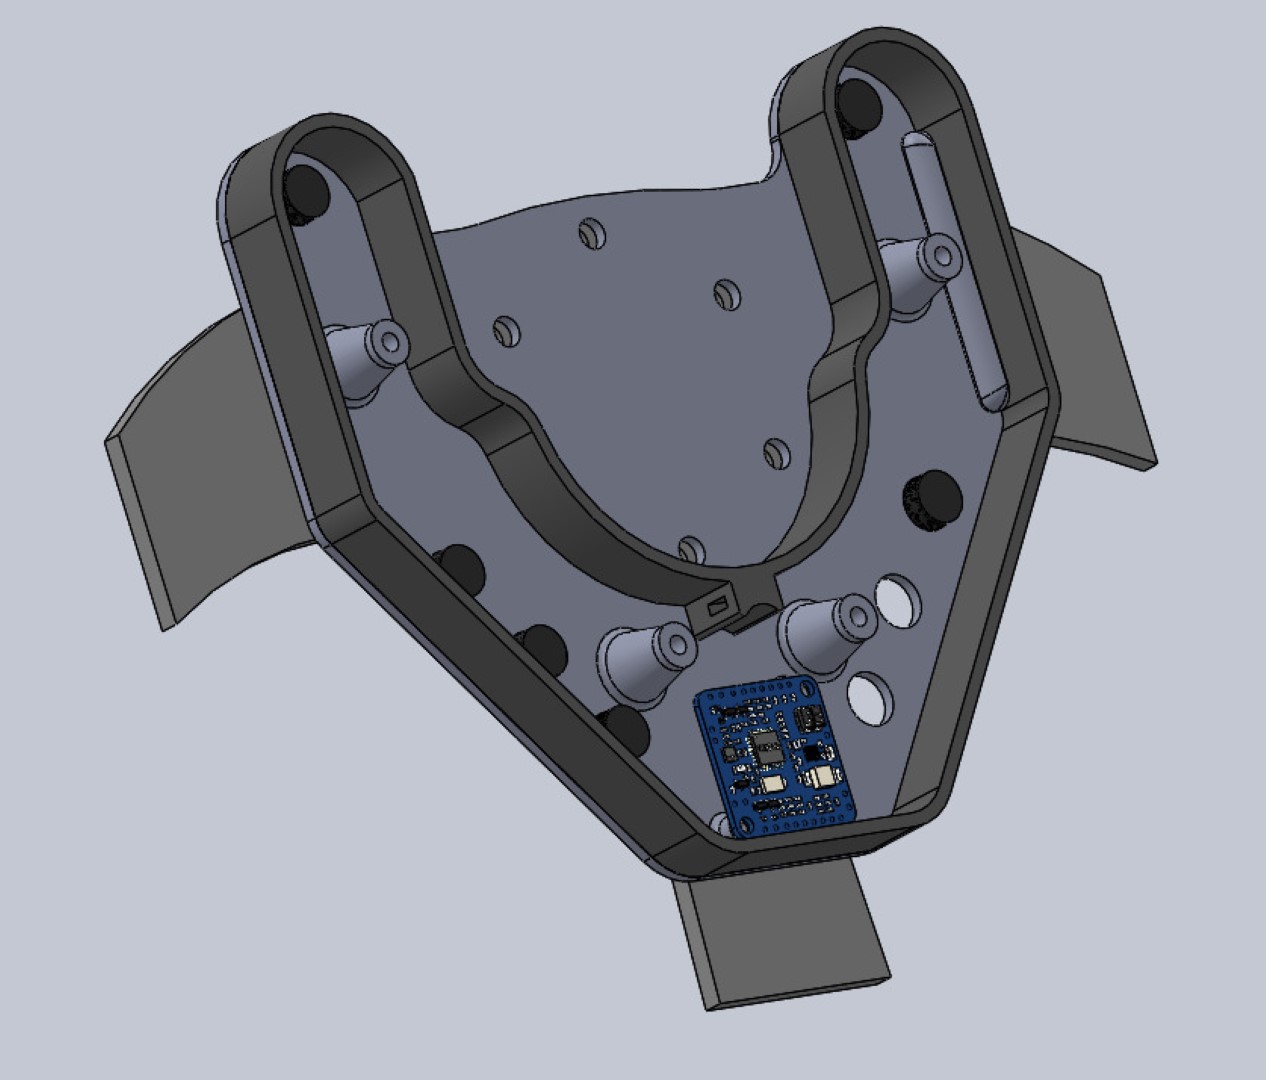
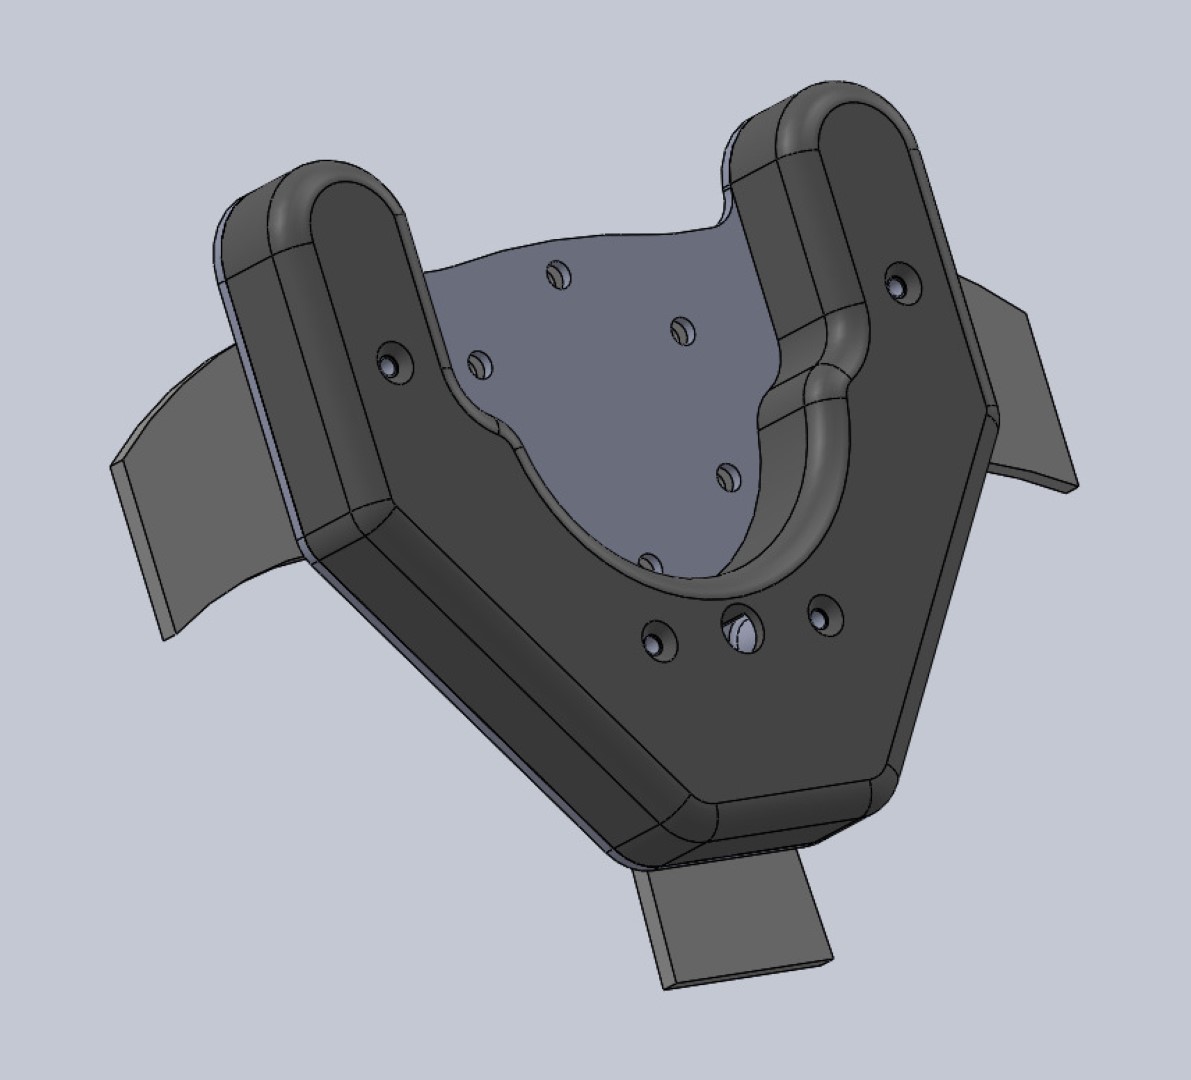
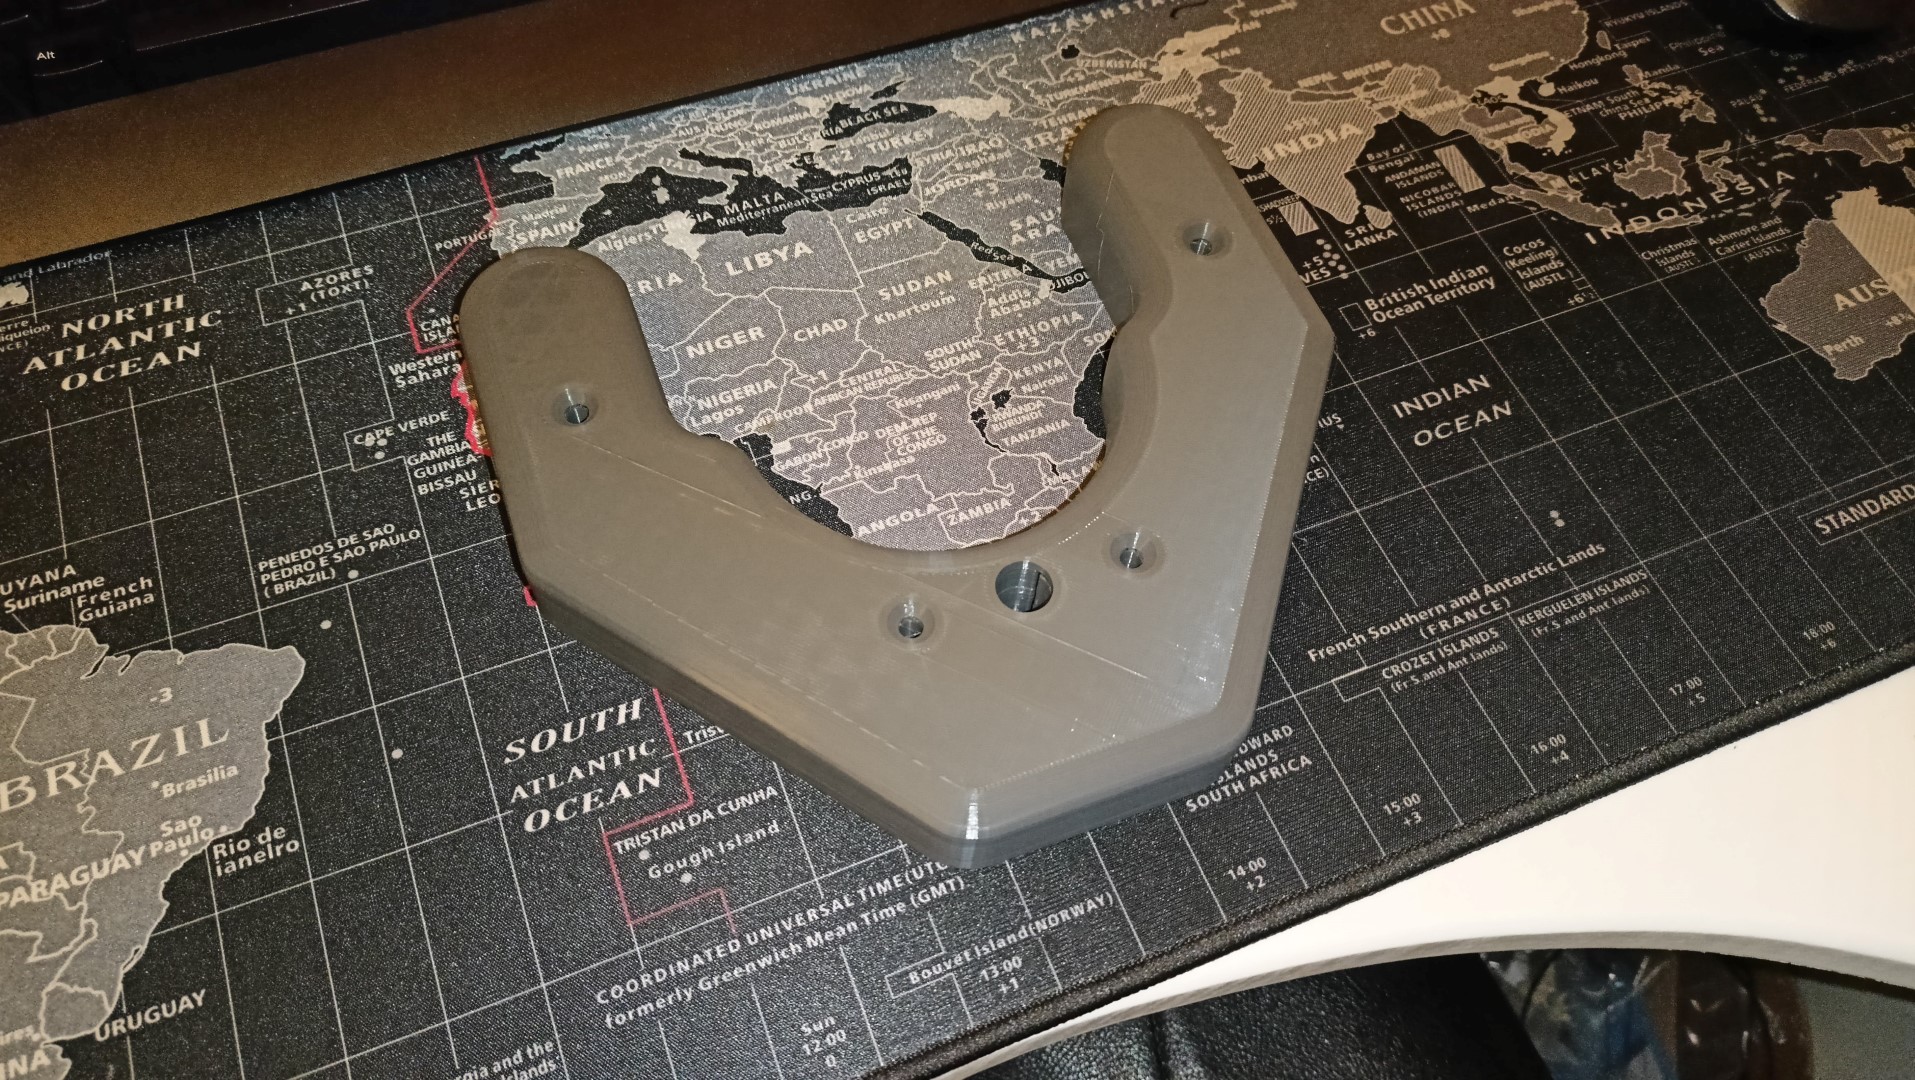
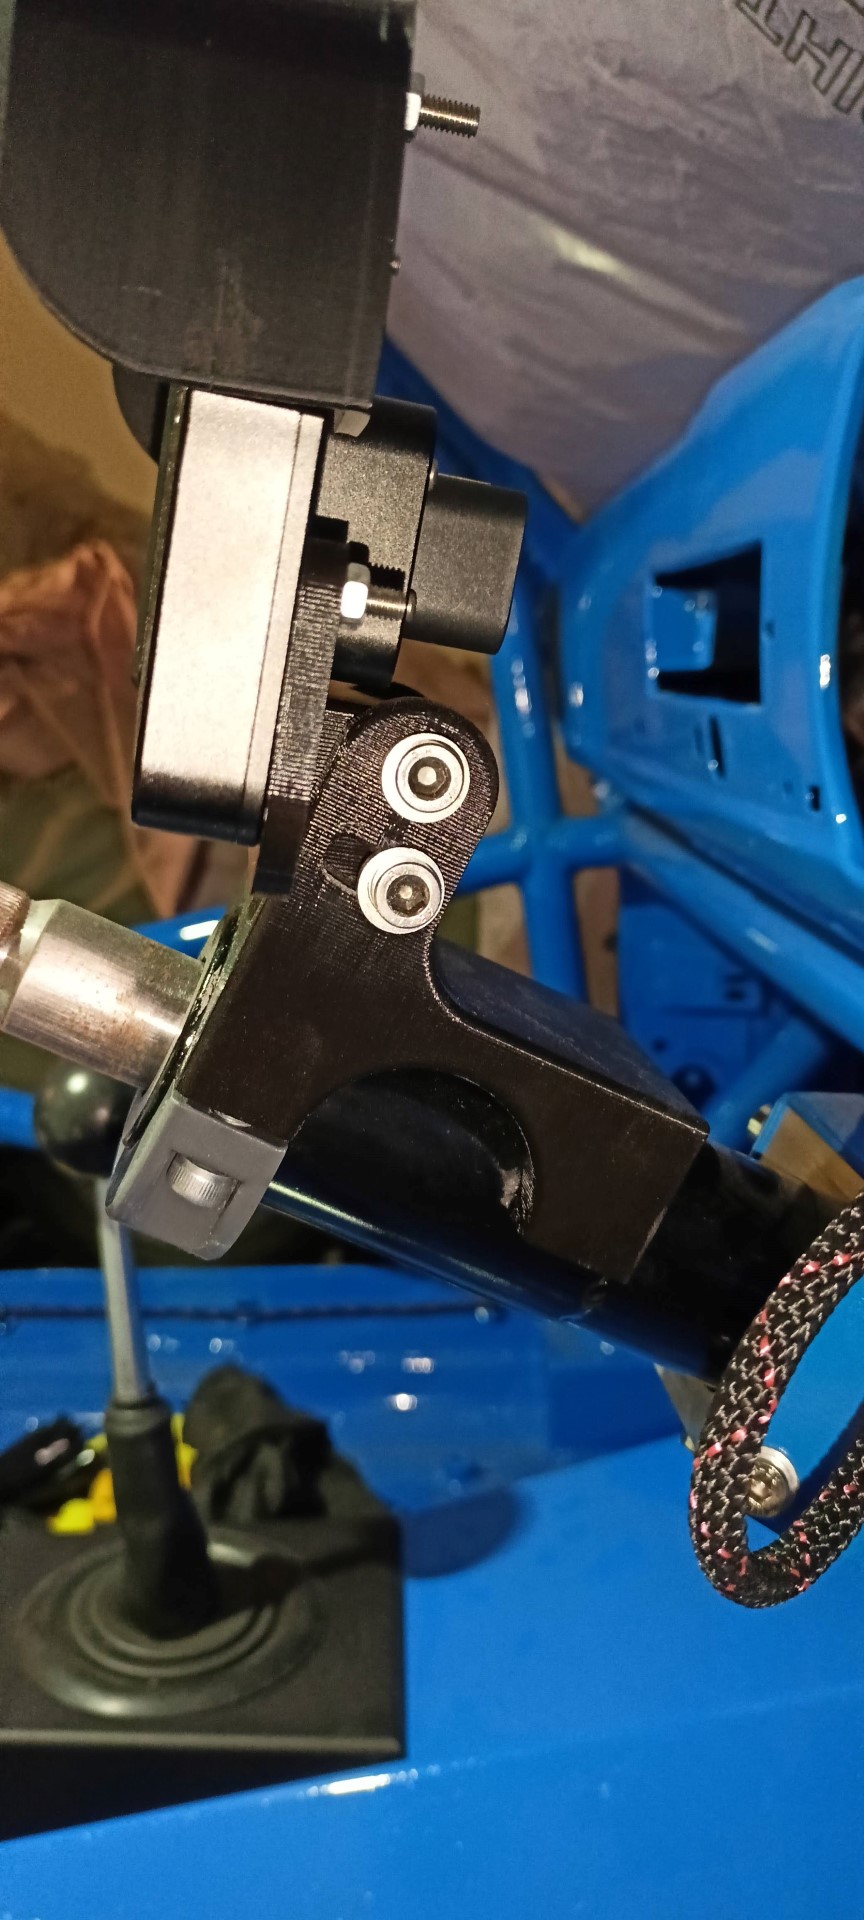
Do I see three little Harrier stripes laser cut into your new bracket?

 Reply With Quote


Bookmarks